Eclipse 420a Turbo Build
This was the beginning of my YouTube Channel. I am a software engineer but I like to learn new things. I ended up combining my passion for cars and my curiosity then challenging my skills by completely building an engine. I’ve learned what was what and how they worked. I’ve learned about clearances and then this was the result.

Going for a short ride
This is the First Eclipse 420a to use a Speeduino ECU
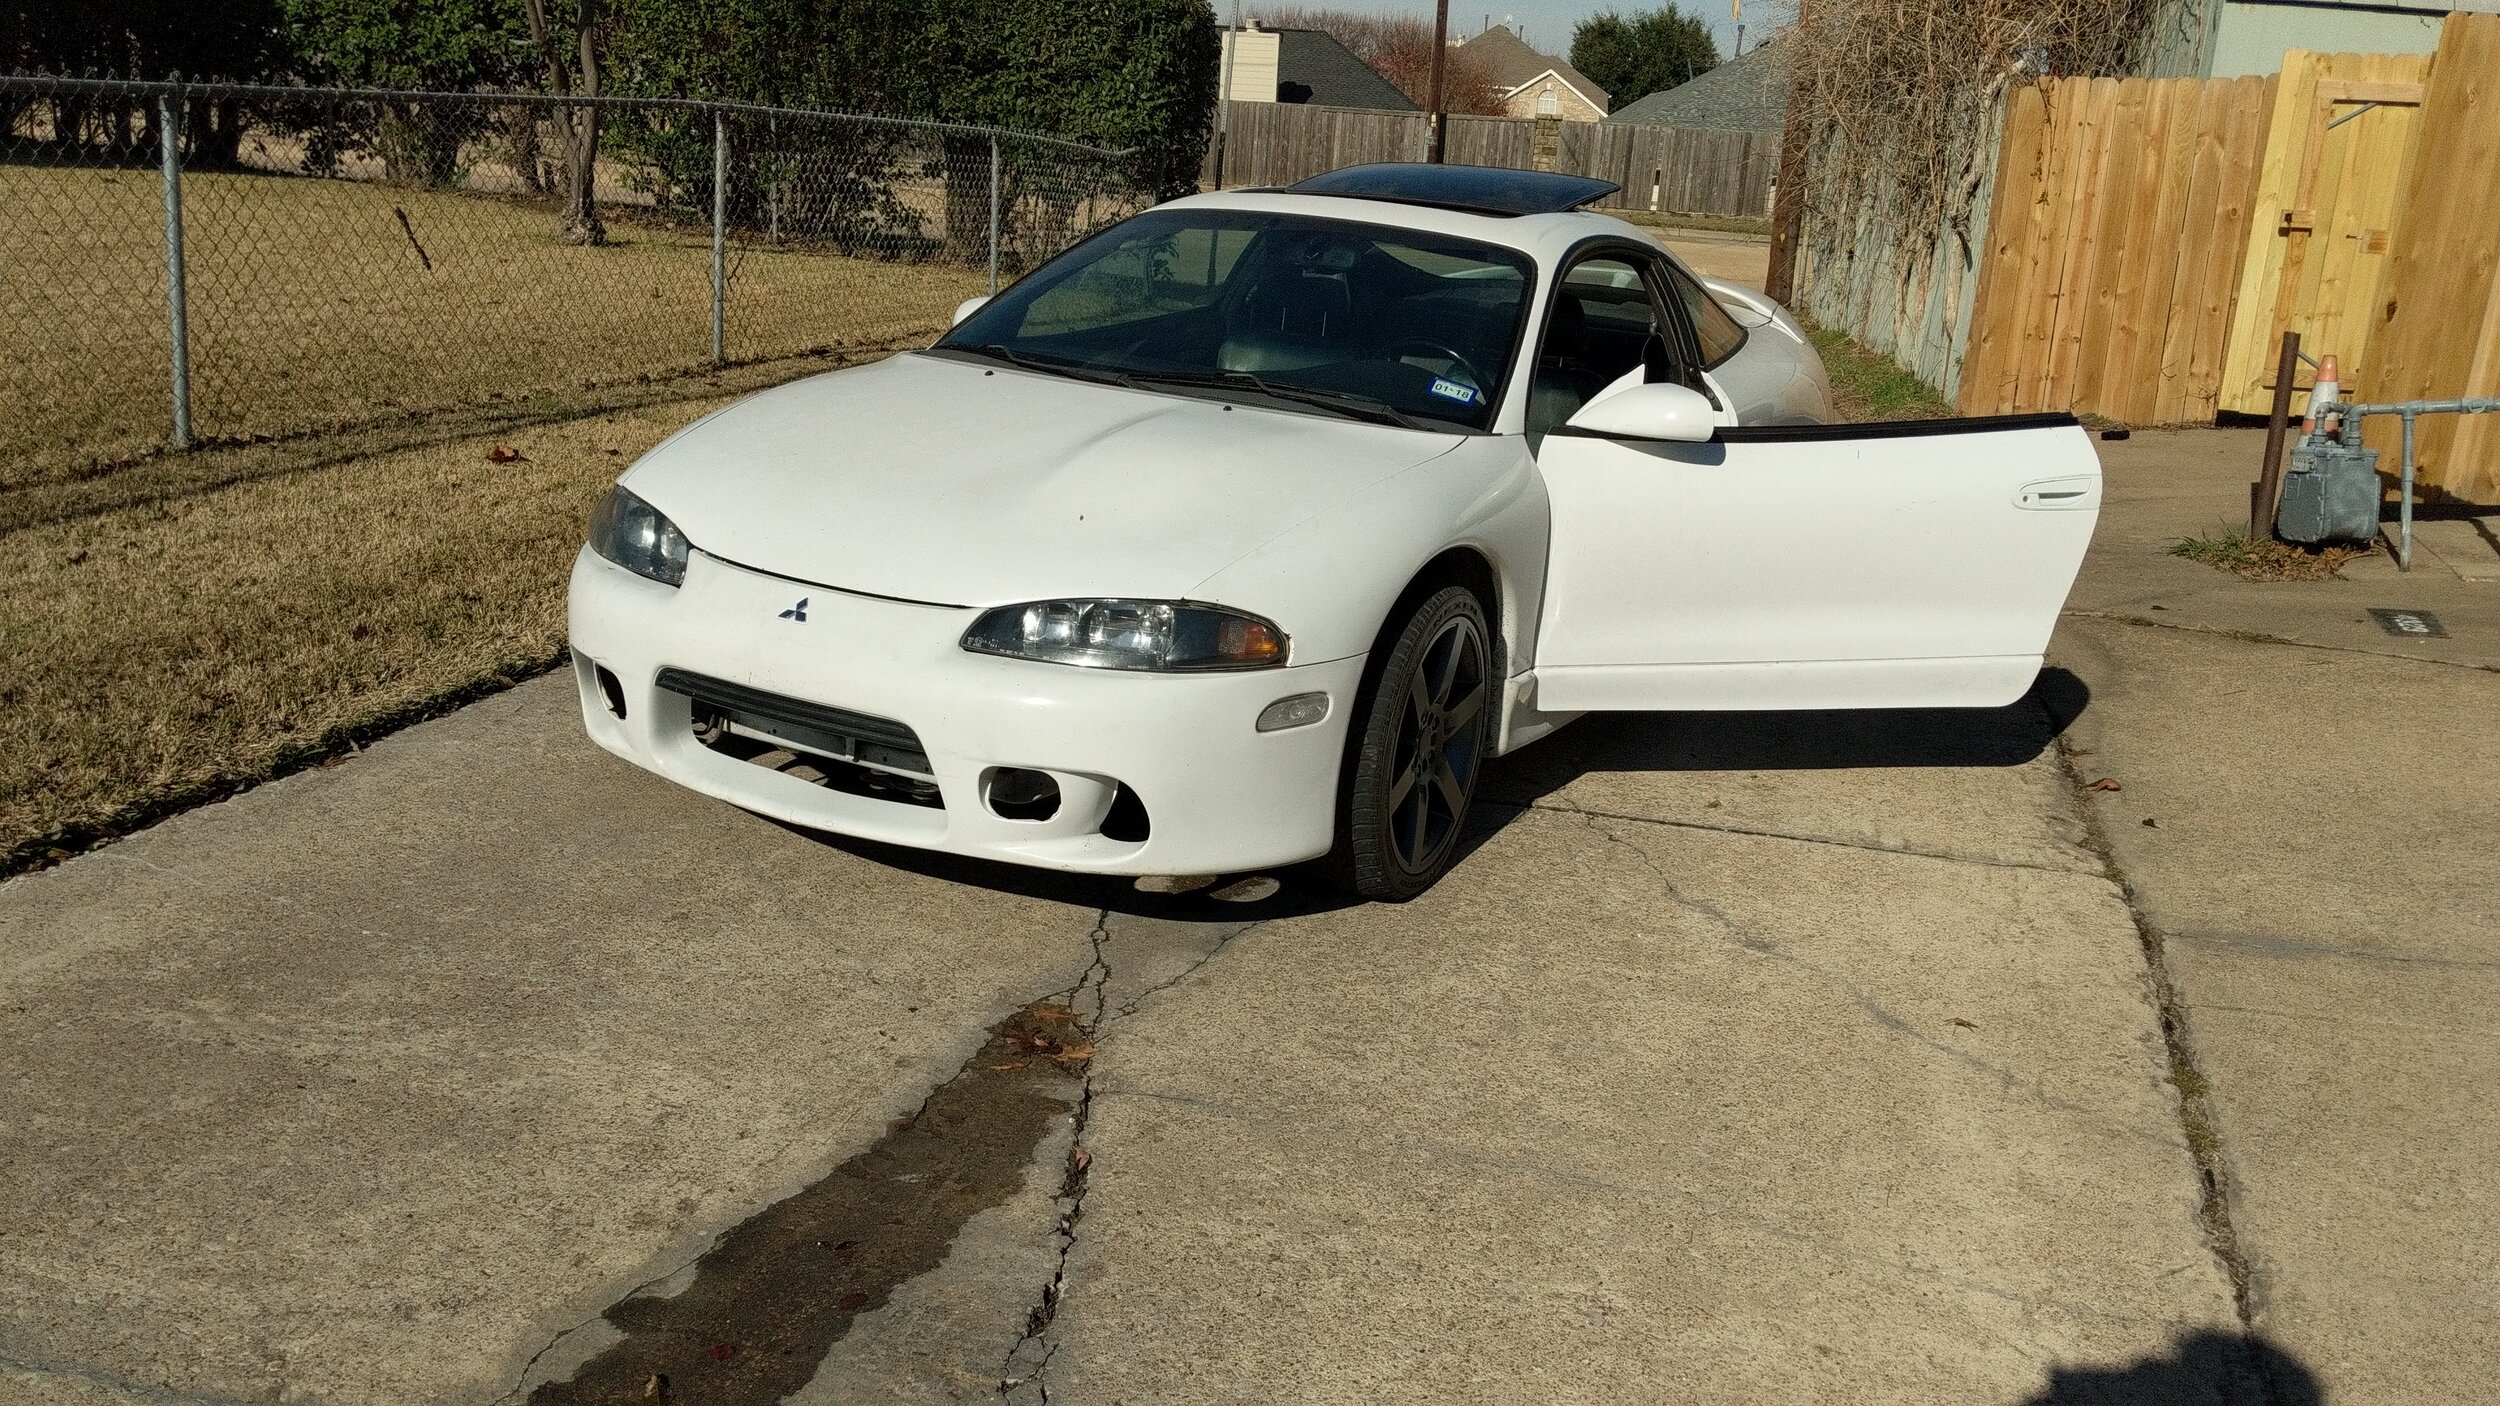
Got the car running but in rough shape. None of the doors had door handle. To open you needed to put your hand down the hole where the door handle was and pull the metal that would be triggered by the key lol.
I got the car for extremely cheap. I didn’t even know about 420a or 4g63. I happily bought the car and accepted the challenge of making it awesome.
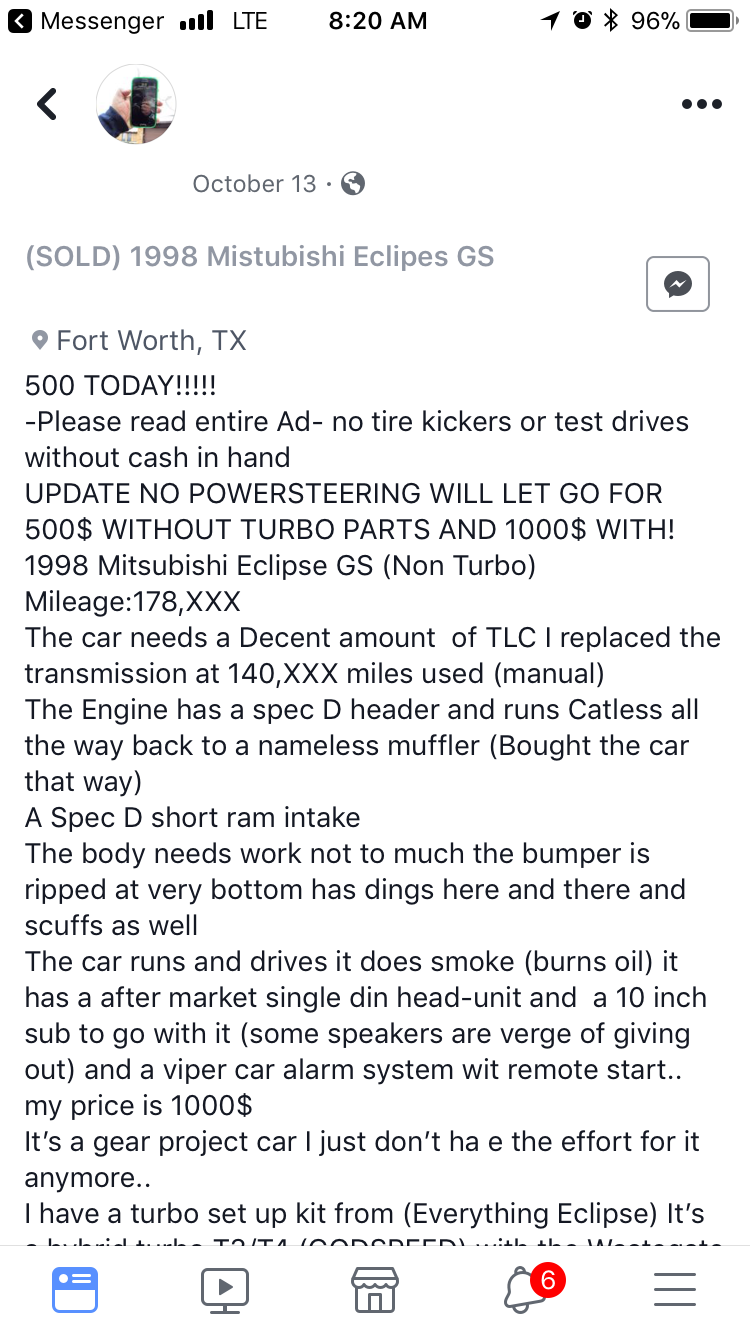
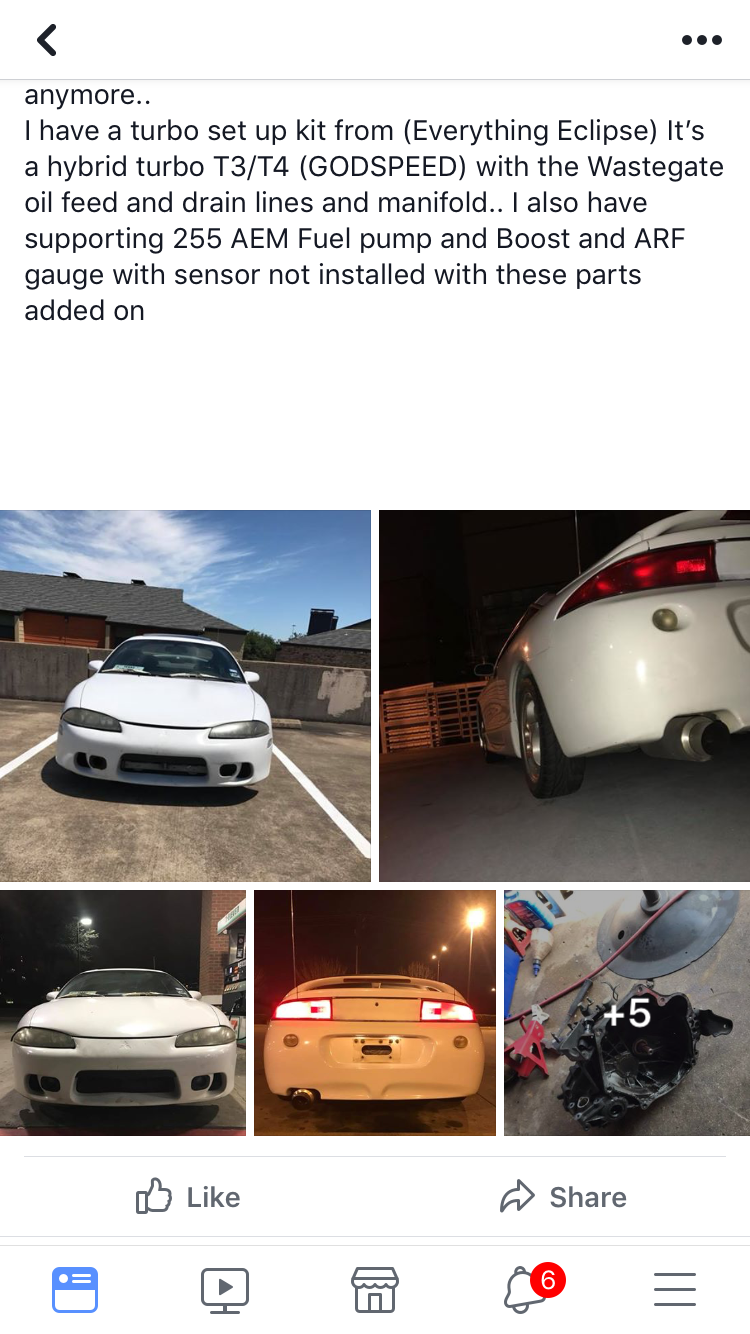
This was the add for the car when I got it
Since the carpet was dirty I decided to take the seats out of the car and clean the carpet if it was possible otherwise I would have bought a new one. While the carpet was drying on the hot 100 degrees Texas summer I saw some of the paint pealing off on the floor inside the car.. I got some of those rubber paint white color and painted the whole floor since I had everything out.

Floor paint crambling
I cleaned it and covered the floor with rubberized paint
Installed Xenon and cleared the headlights since they were foggy. All of this was my first time doing. Got xenon from Amazon and Turtle product to restore the headlights. It worked so well that they looked like new after that.

Restoring the lens
before on the left and after on the right. Not clear coated yet

Headlights are out
While headlights were being restored and getting xenon bulbs in it the floor was getting pissed with power steering fluid

Rack and Pinion replaced
After a 12 hour fight to replace the rack and pinion I was looking like that

Installing Xenon
The install of the Xenon was a process. I messed up somewhere and burned one ballast. Later on I needed to order another set.
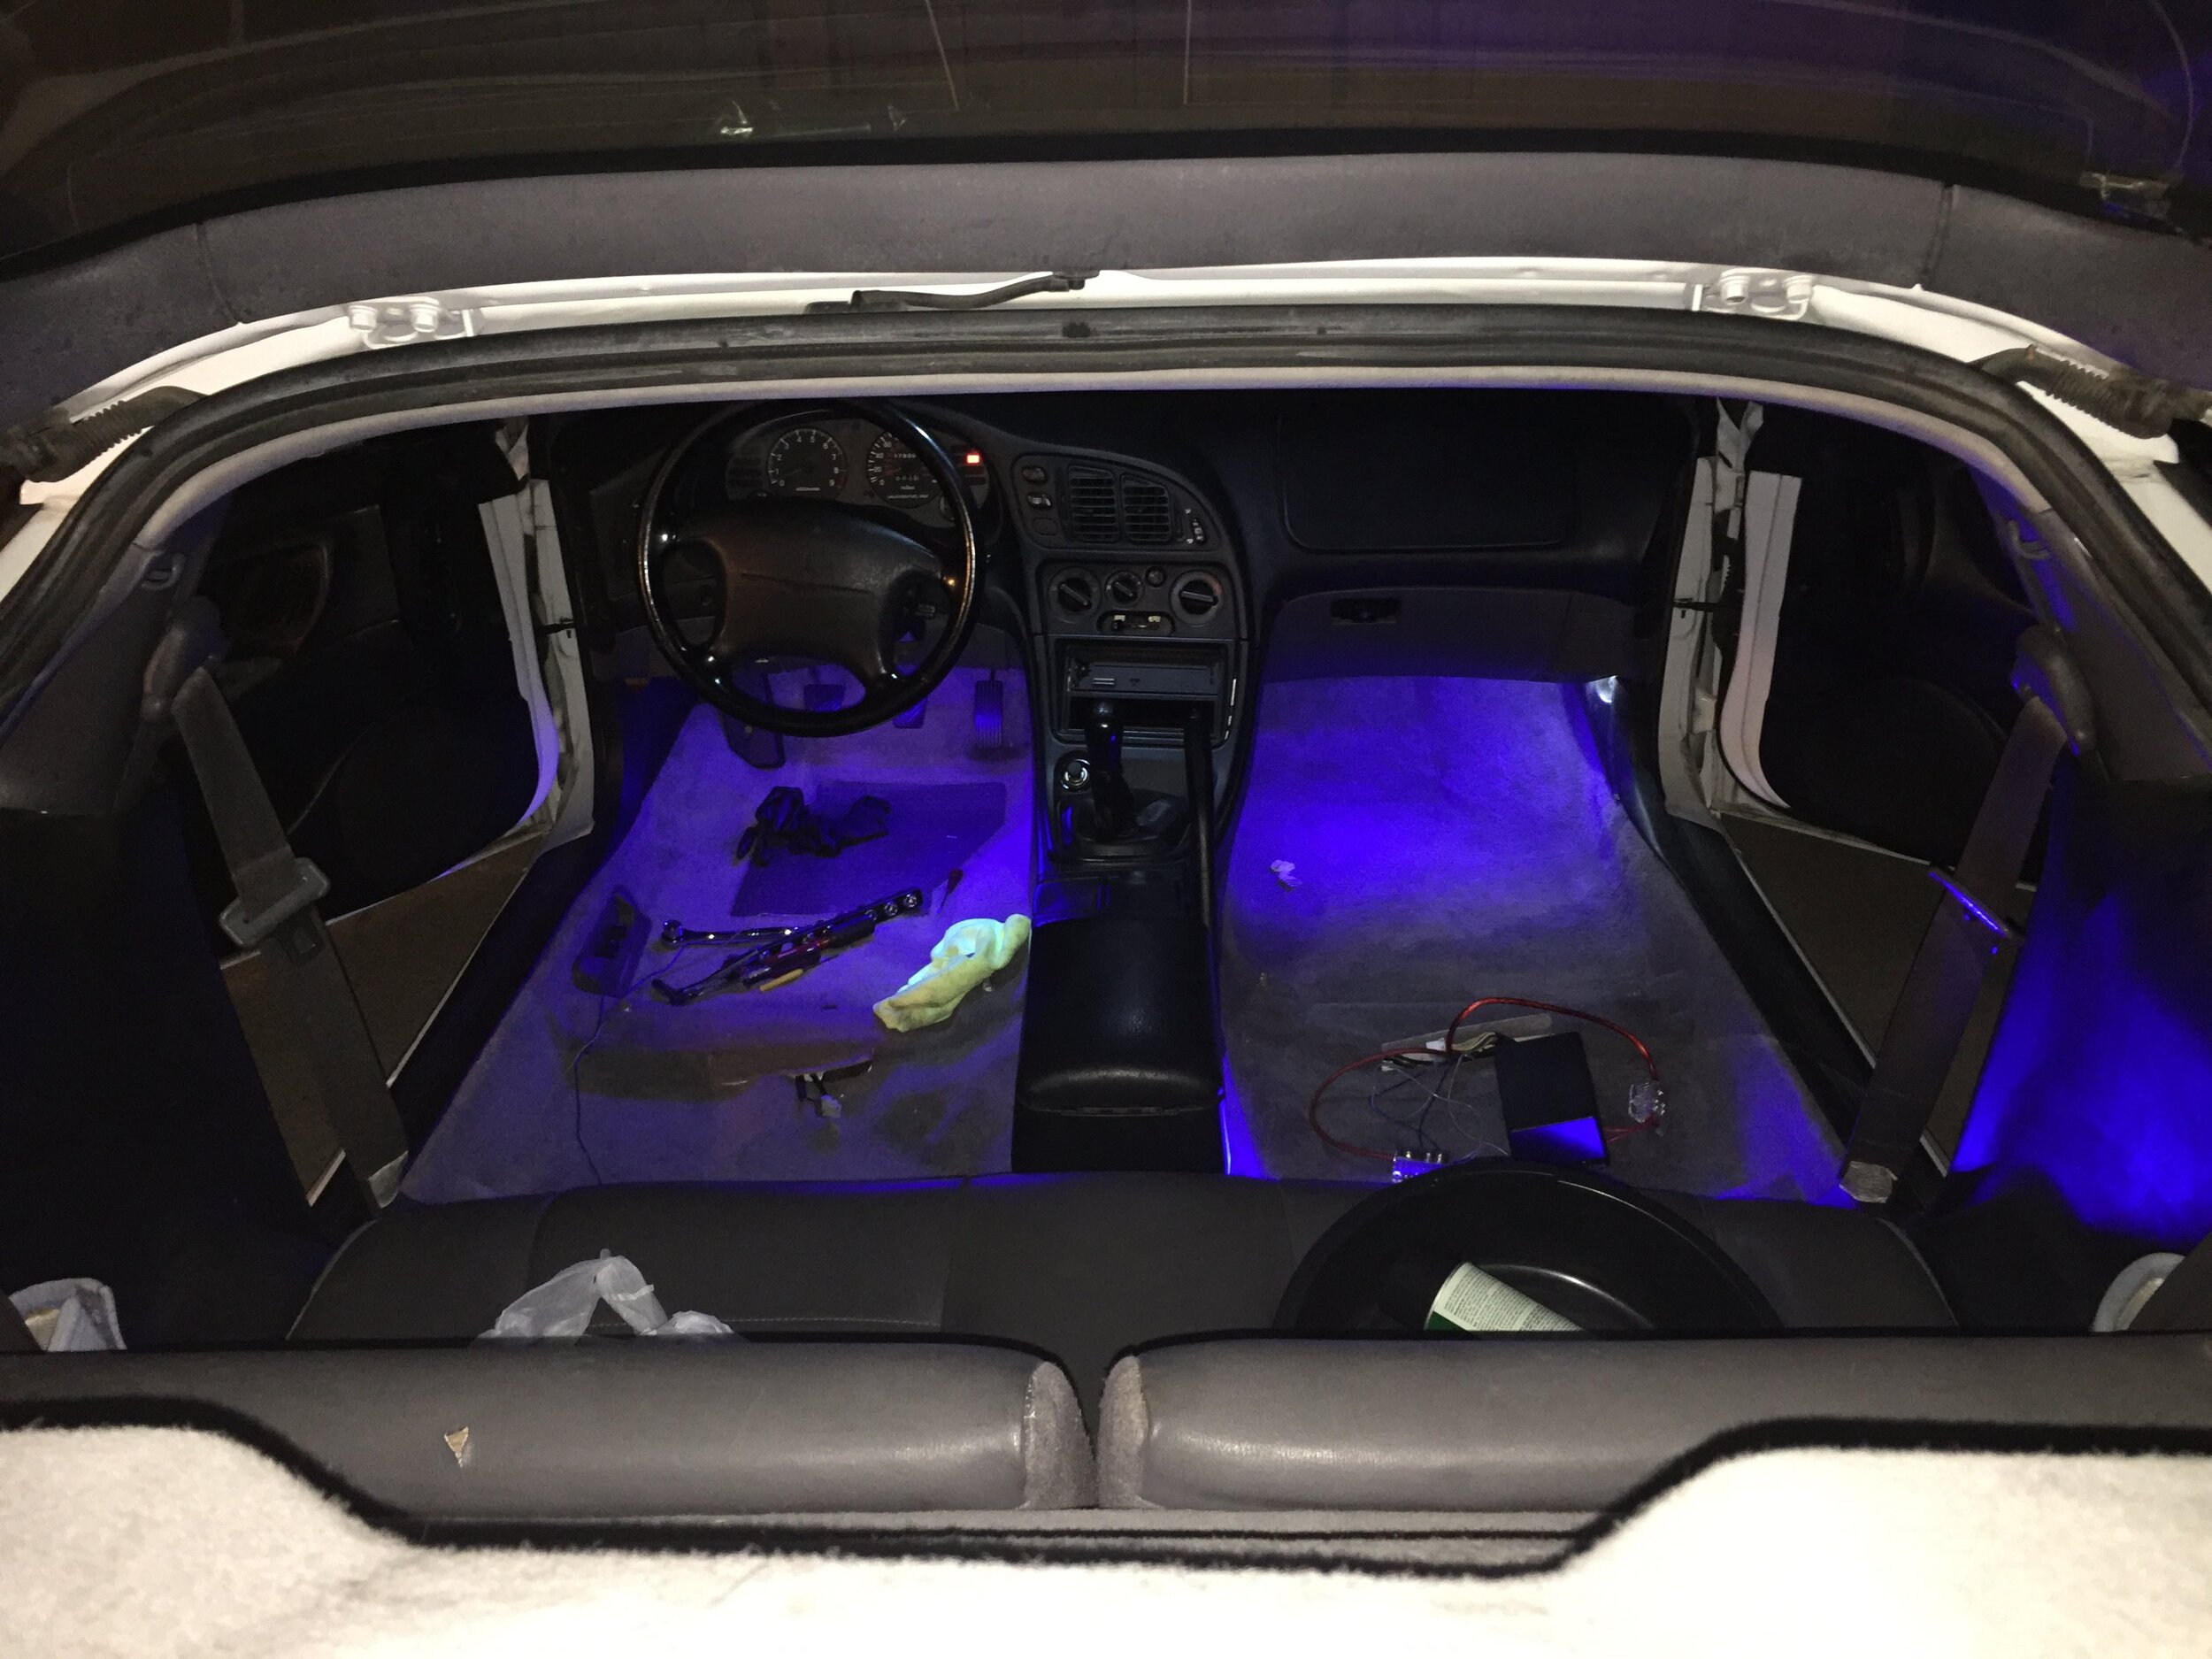
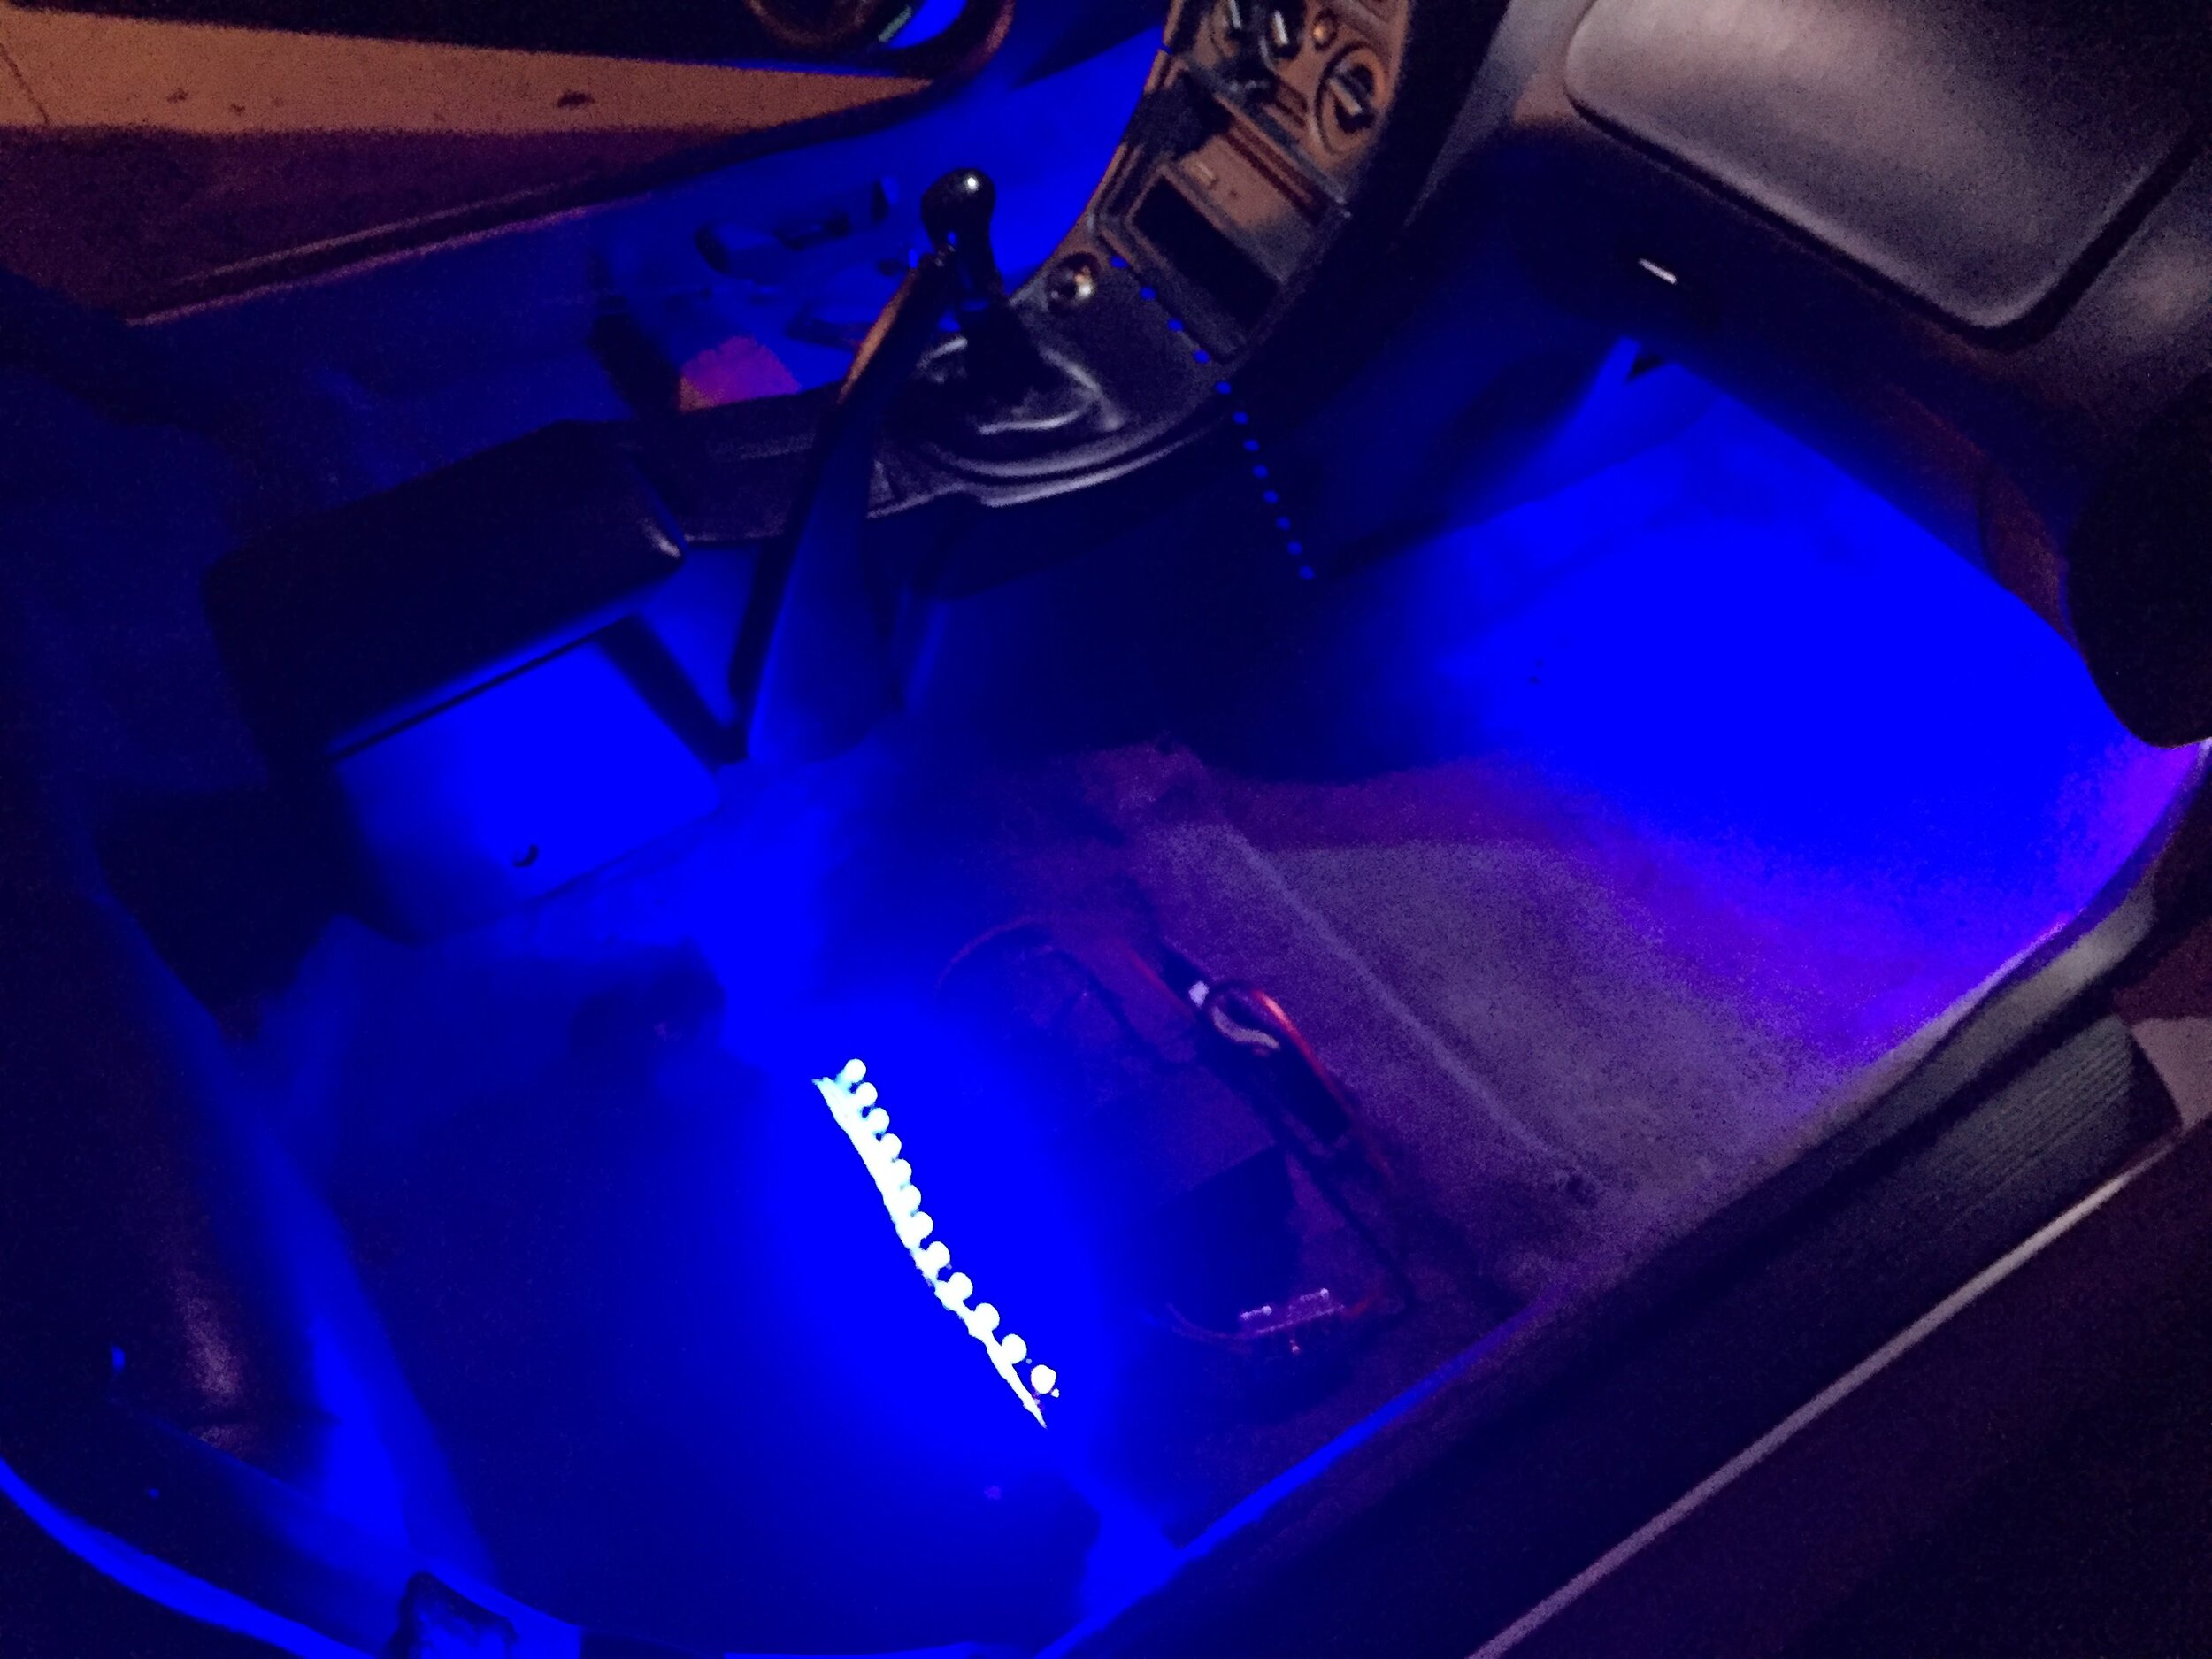
Carpet is dry so I installed some cool blue LED on the interior of the car. Like flood light. It is super discrete at night and you can only see when you open the door and the floor is illuminated a bit.
To get the lights working I relocated the battery to the trunk and added a fuse box in front. Got the fuse box from a BMW X5 and routed the wires under the carpet so it would be as clean as possible. I also have a fuse box under the passenger seat which I can add more stuff and new fuses as I need to. routed a 2 gauge red cable through the car from the back (battery) to the front (new fuse box)
I also replaced the door handles which were broken (pain in the ass) and got new front seats and window switches since they were ripped and broken. Not to say that I carried both seats on my back from the car location on a wreck yard in Texas to my car because they could not help me. Freaking heavy. One at the time of course but took me three trips from the wrecked car to the counter to get all the stuff I needed. I will never forget I spent $285 and a lot of sweat.
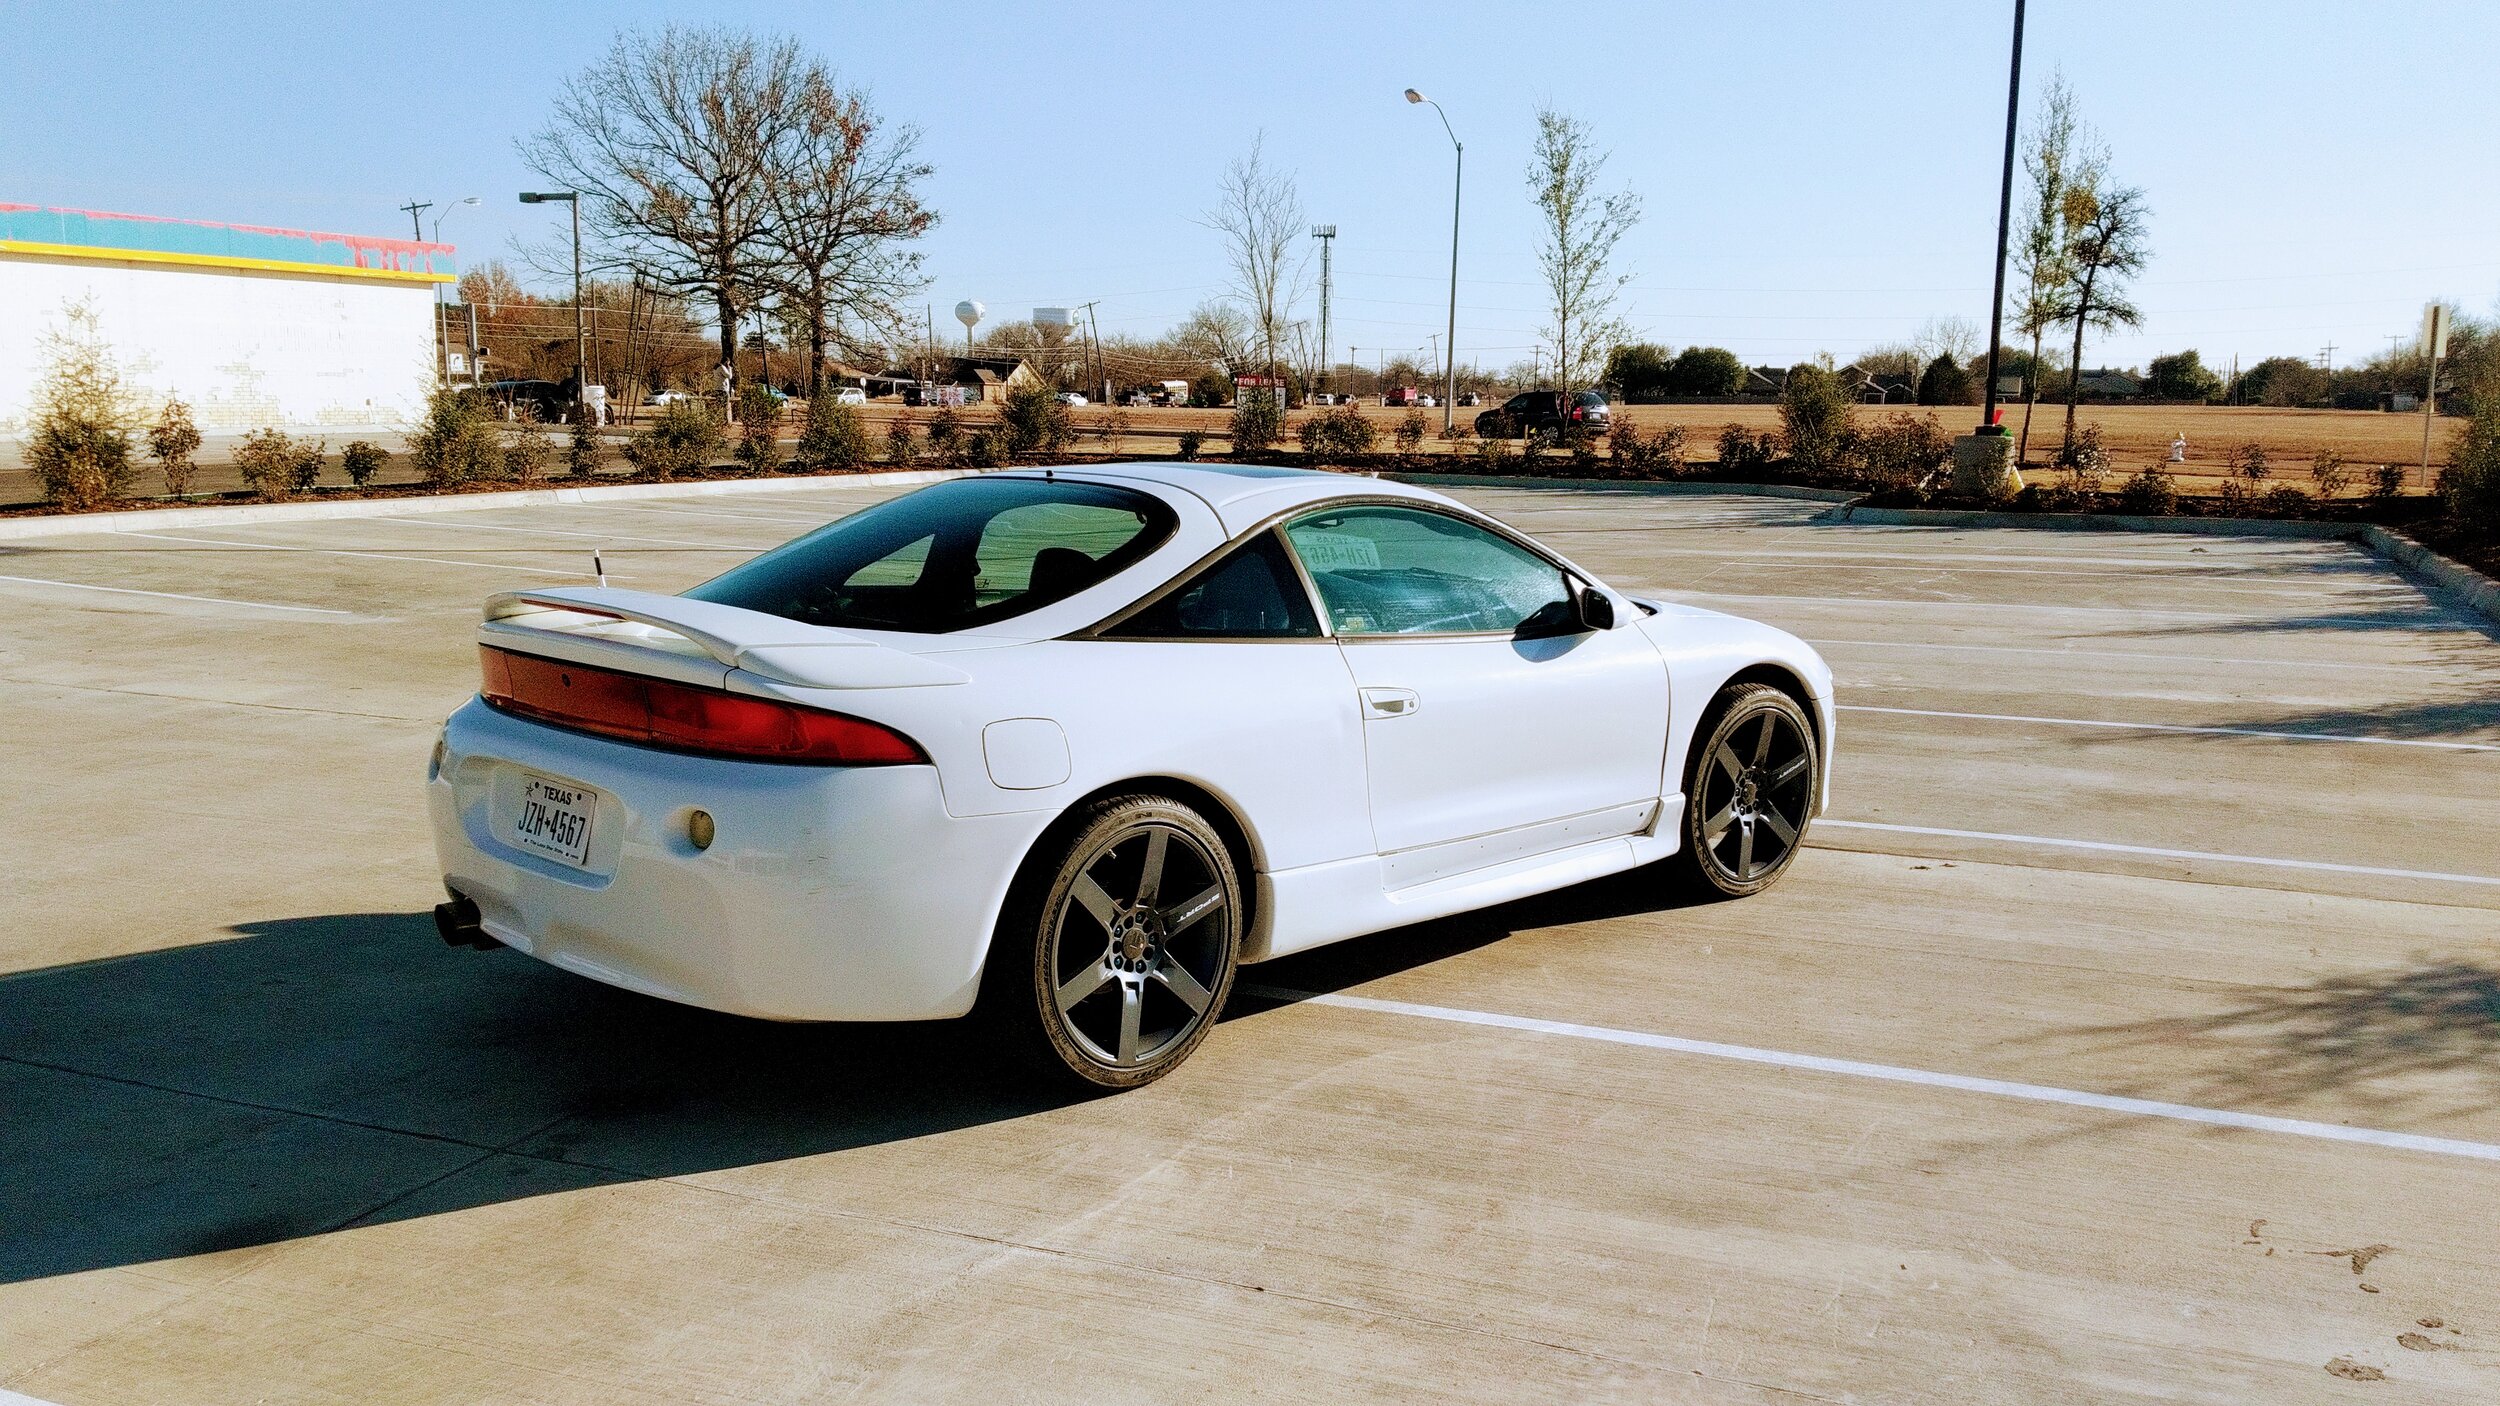
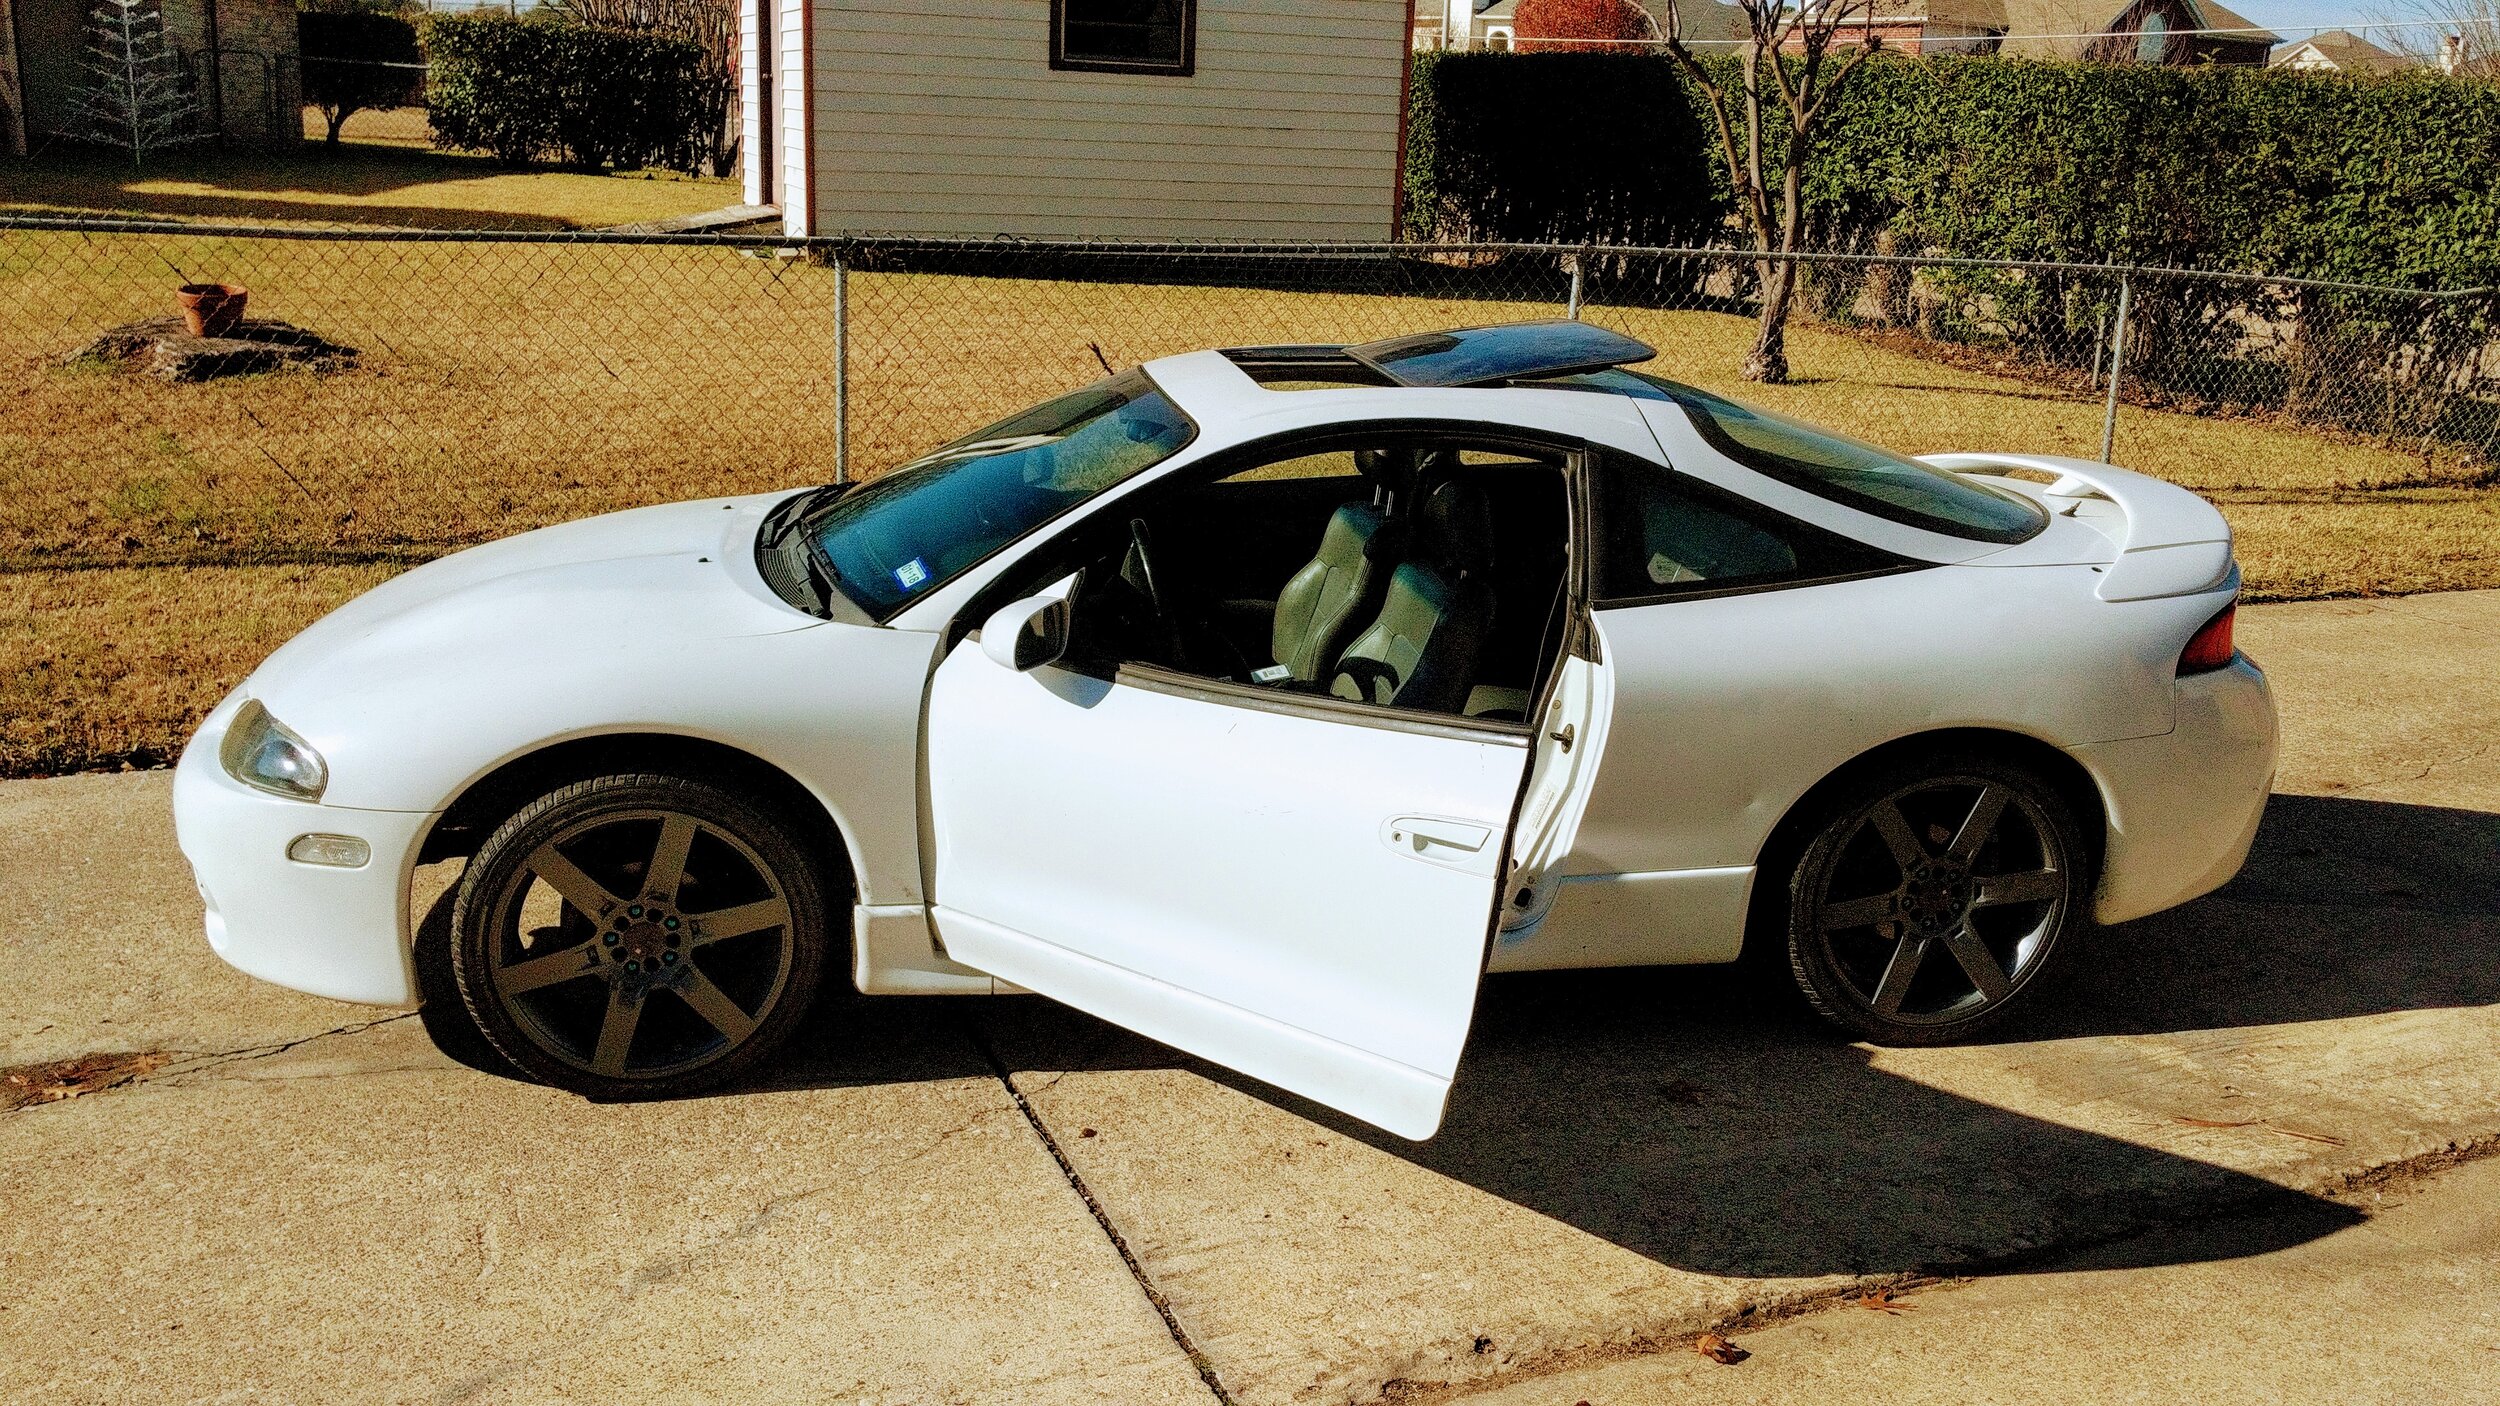
This is how the car was looking after those simple cleaning and mods.

She is getting prettier
After some work she was looking way better

Tail light center piece is clear now
it was a terrible white. I did not like that
I was waiting to disassemble the engine after moving to WA since I wanted to have a running car while we were living in Texas. Before moving though I started tinkering with wrap so I could choose the right color for my build. I still don’t have the choice but I got some samples on eBay.
Wrap color testing
The color we liked so far was that gold white chameleon that is very saddle from this angle but it is under the wing mirror

and more testing
At this point I was only enjoying the car with the loud exhaust and smoky as hell before moving. We did not have a date yet till around February 2018 then we moved to Spokane WA where I shipped the car and drove with my cat and my dog all the way from Dallas TX to Spokane WA. That was a cool trip driving my G37

from TX to WA
Shipped cross country to our new home
And of course after a week or so the cars are reunited but this time in WA.
Got a friend to drive my car back so we could go pick her up and drive finally home. I didn’t know how the car would handle since the engine wasn’t the best of all but it drove like a champ. I love that car. At this point the channel is growing and I have lots of videos of me fixing stuff on the car. Little I knew that lots more videos would be made when the engine was redone.

Just getting some good gas
First of all I never thought I would redo an engine. I was going to turbo the old sad engine that was in the car. See below. I ended up getting an inter cooler pretty cheap from a guy here in Spokane.

Engine after a good cleaning
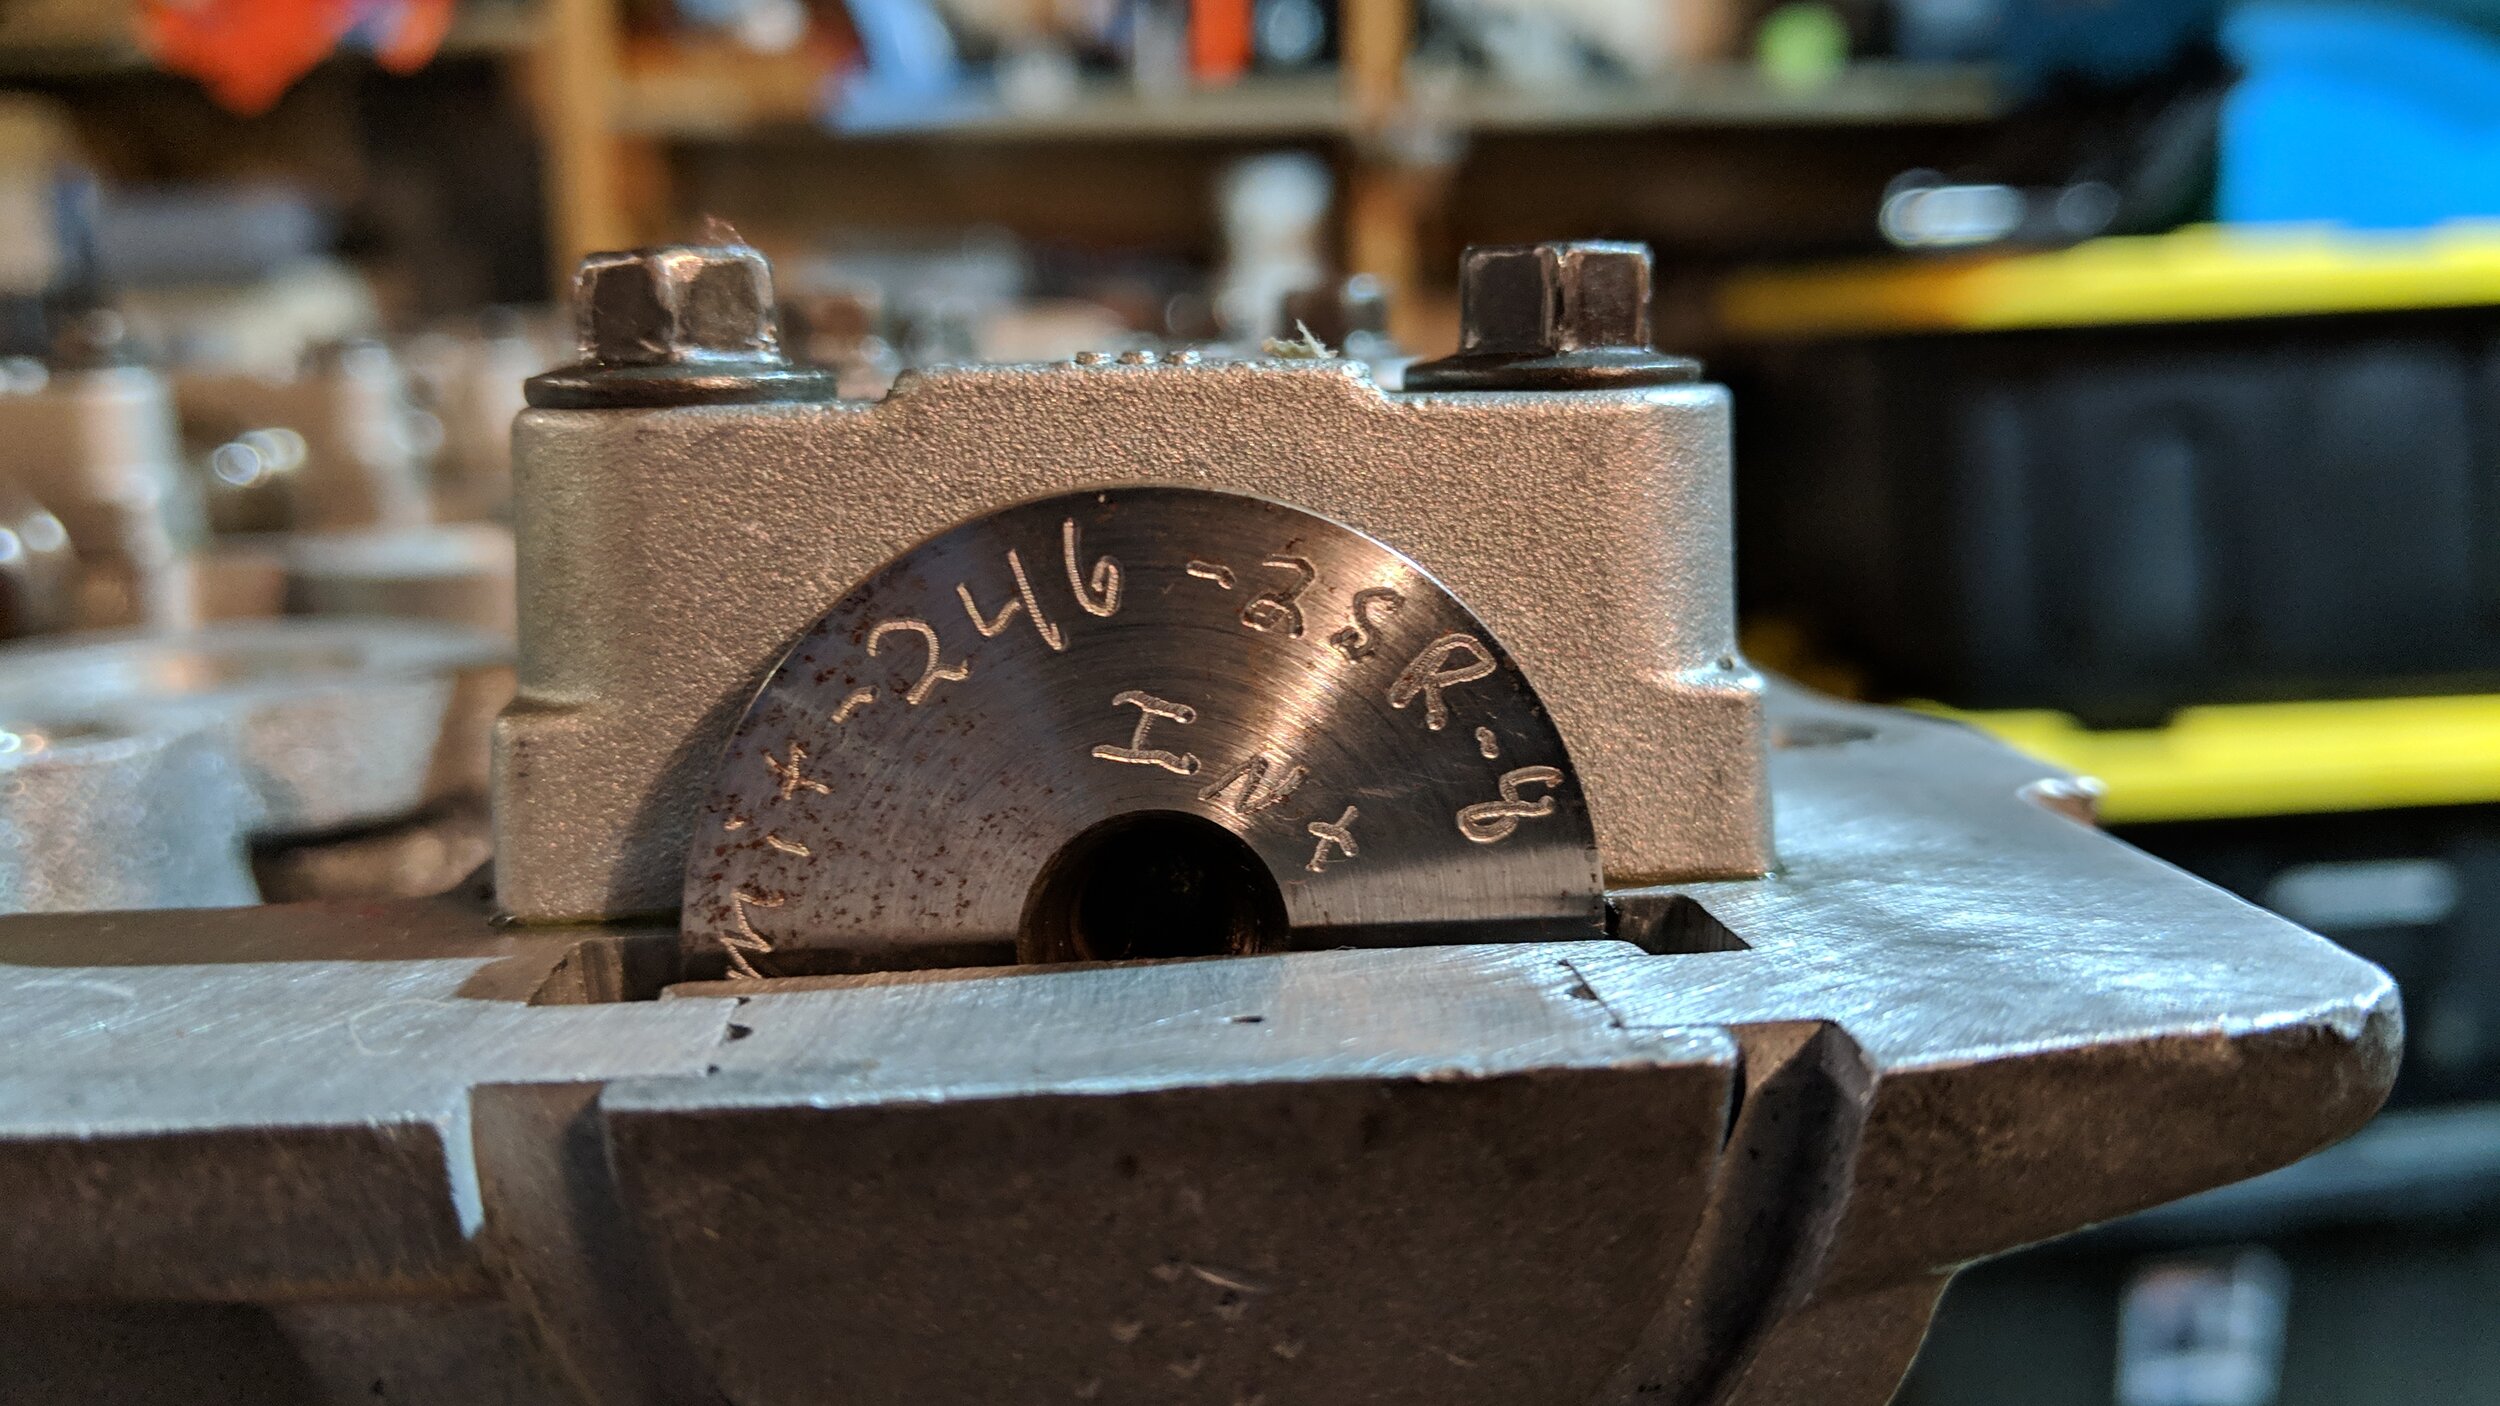
This was the first part I got from a guy here in Spokane that was parting out his 420a. He offered some more stuff at the time but man I could not understand what the hell he was offering me. “bore this” Honed that”, “Ported and Polished” WHAAAT lol. Thinking about that now I laugh. From not knowing crap and being able to successfully build an engine that started and run it is incredible to me.

Where the rebuilding started
this was the first part I got for the car
After a while I decided to message the guy that sold me the intercooler and ask him what else he had. I was trying to get convinced to build the engine so I was trying to hear more carefully this time what he had. Lucky me this time he said “dude I wan’t to get rid of it. I will give you all of this (list below) for $200.
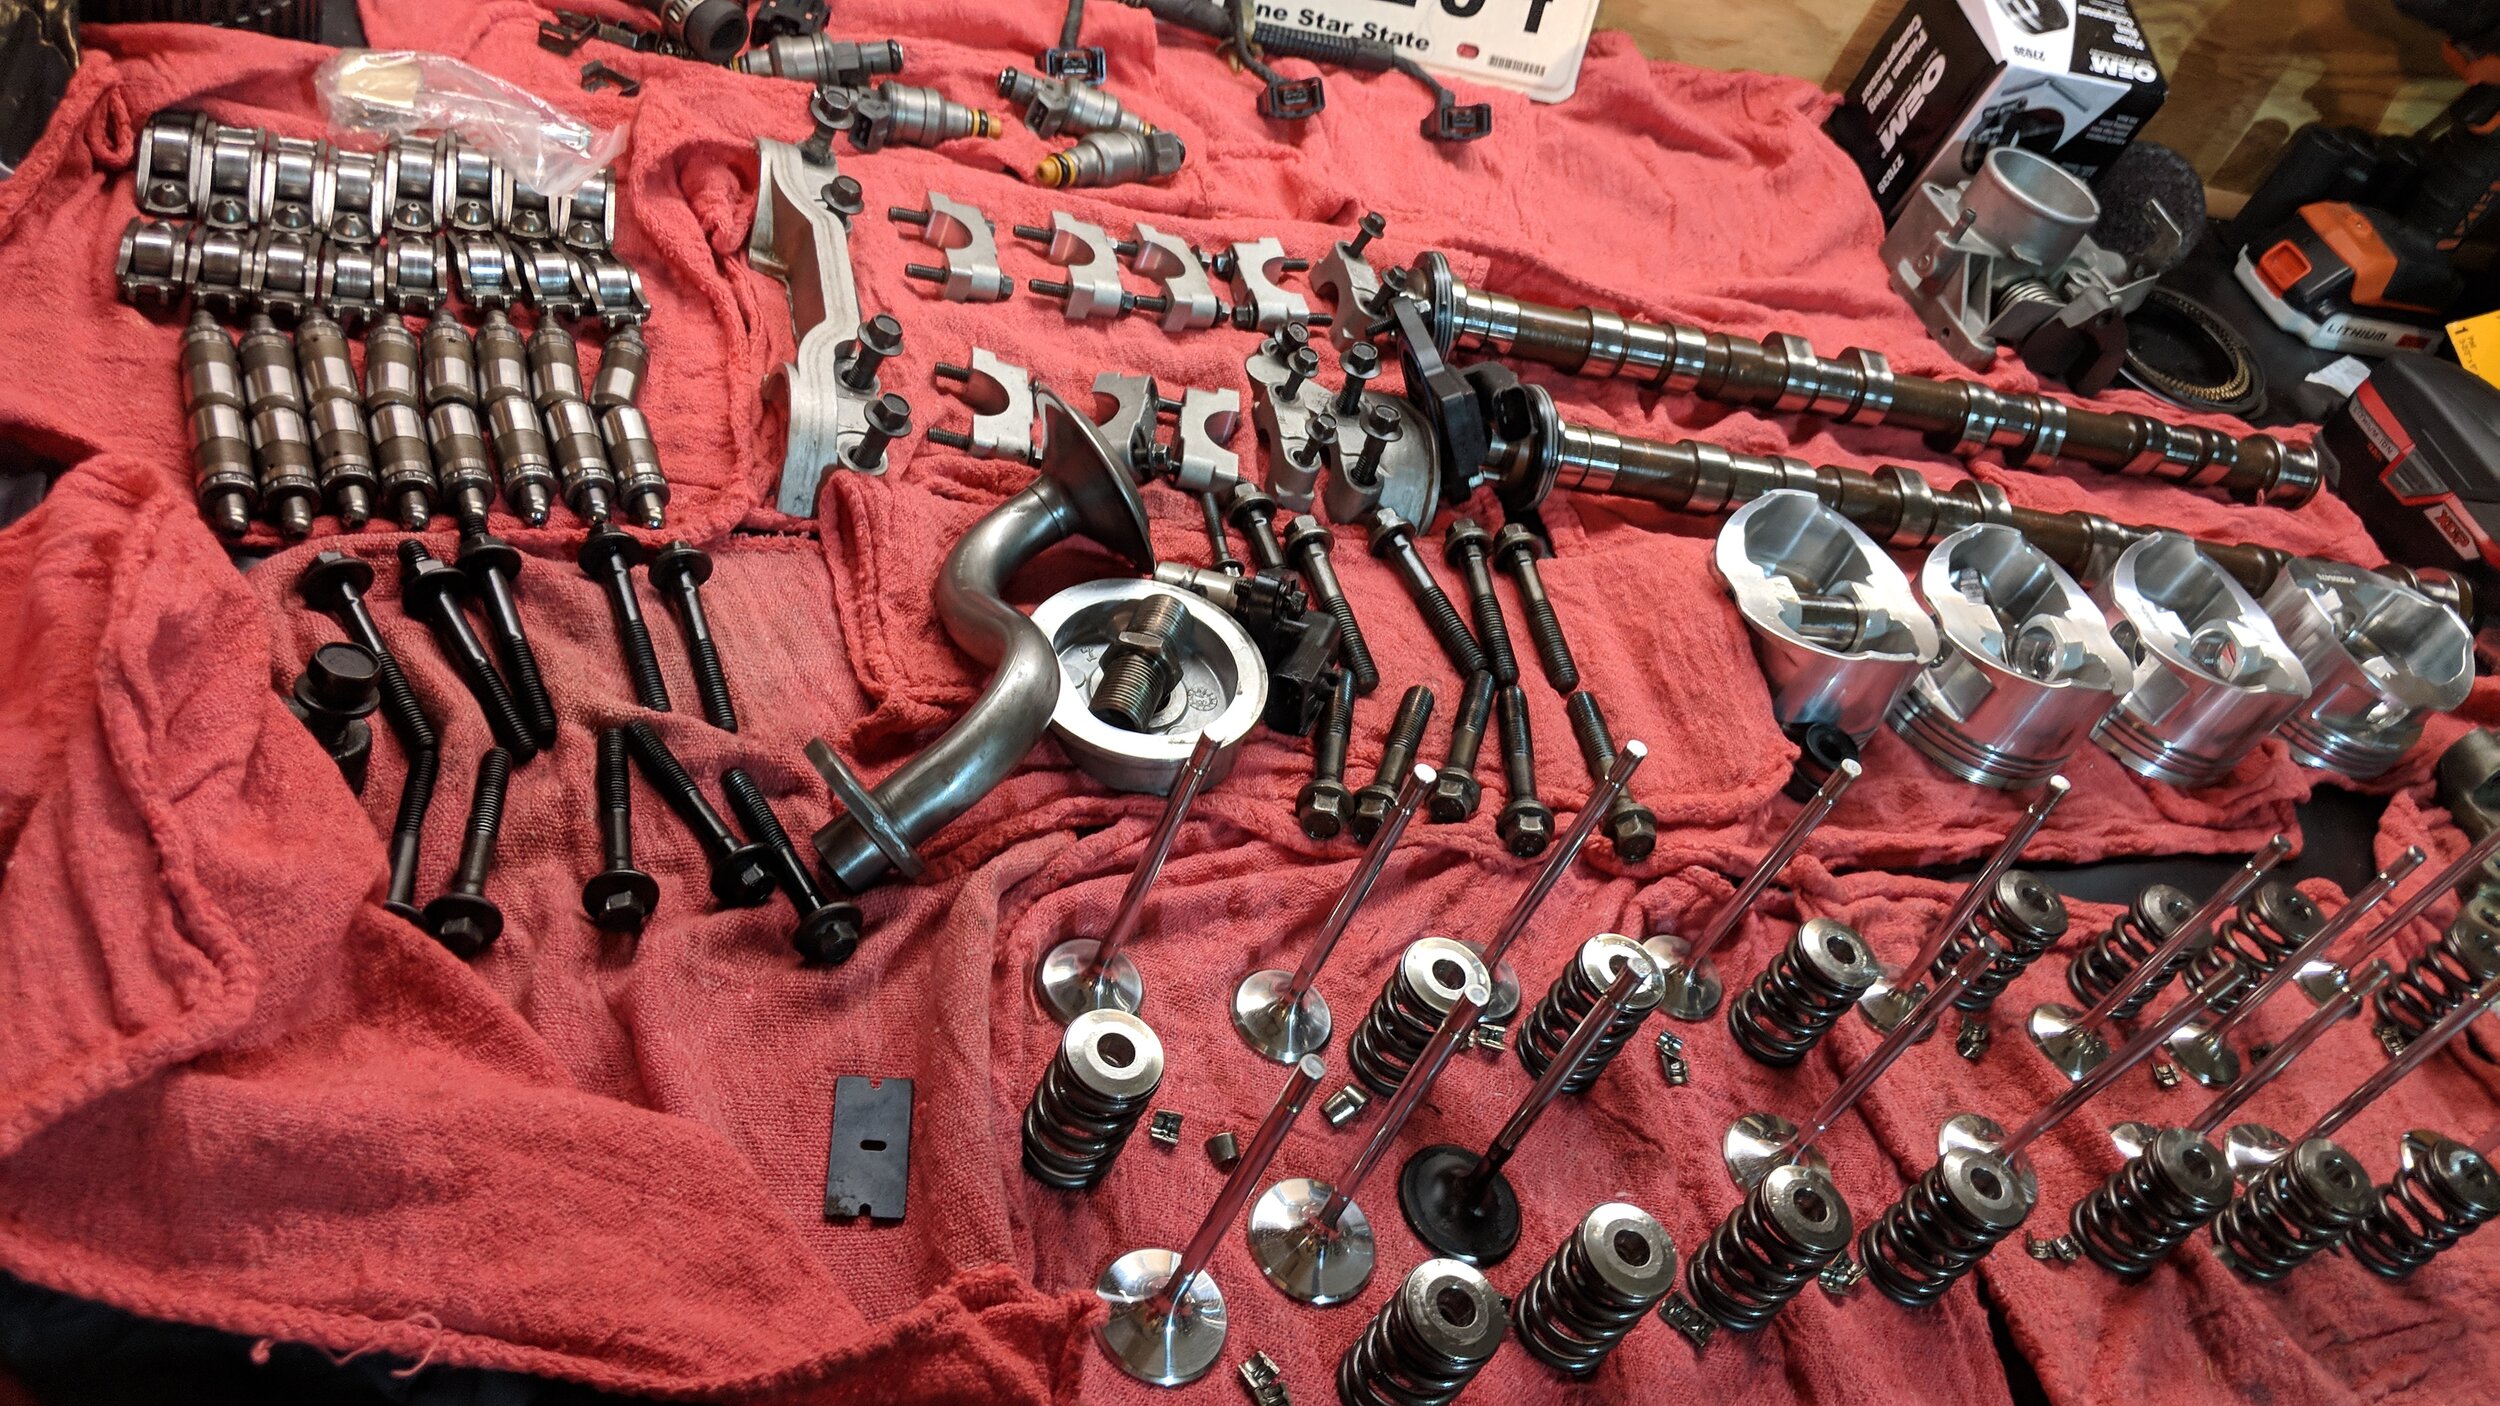
Engine block
Ported and Polished stage 2 head
titanium retainers and springs
Titanium Valves
JE Forged Pistons (No connecting rods)
Crane Camshaft
PT Cruiser Lifters
Adjustable Cam Gears (didn’t end up using. Couldn’t trust)
Fuel Pressure Regulator (Used another one)
Some other stuff I never used
I didn’t think that was a bad deal at all so I took everything home and started learning about all of that.

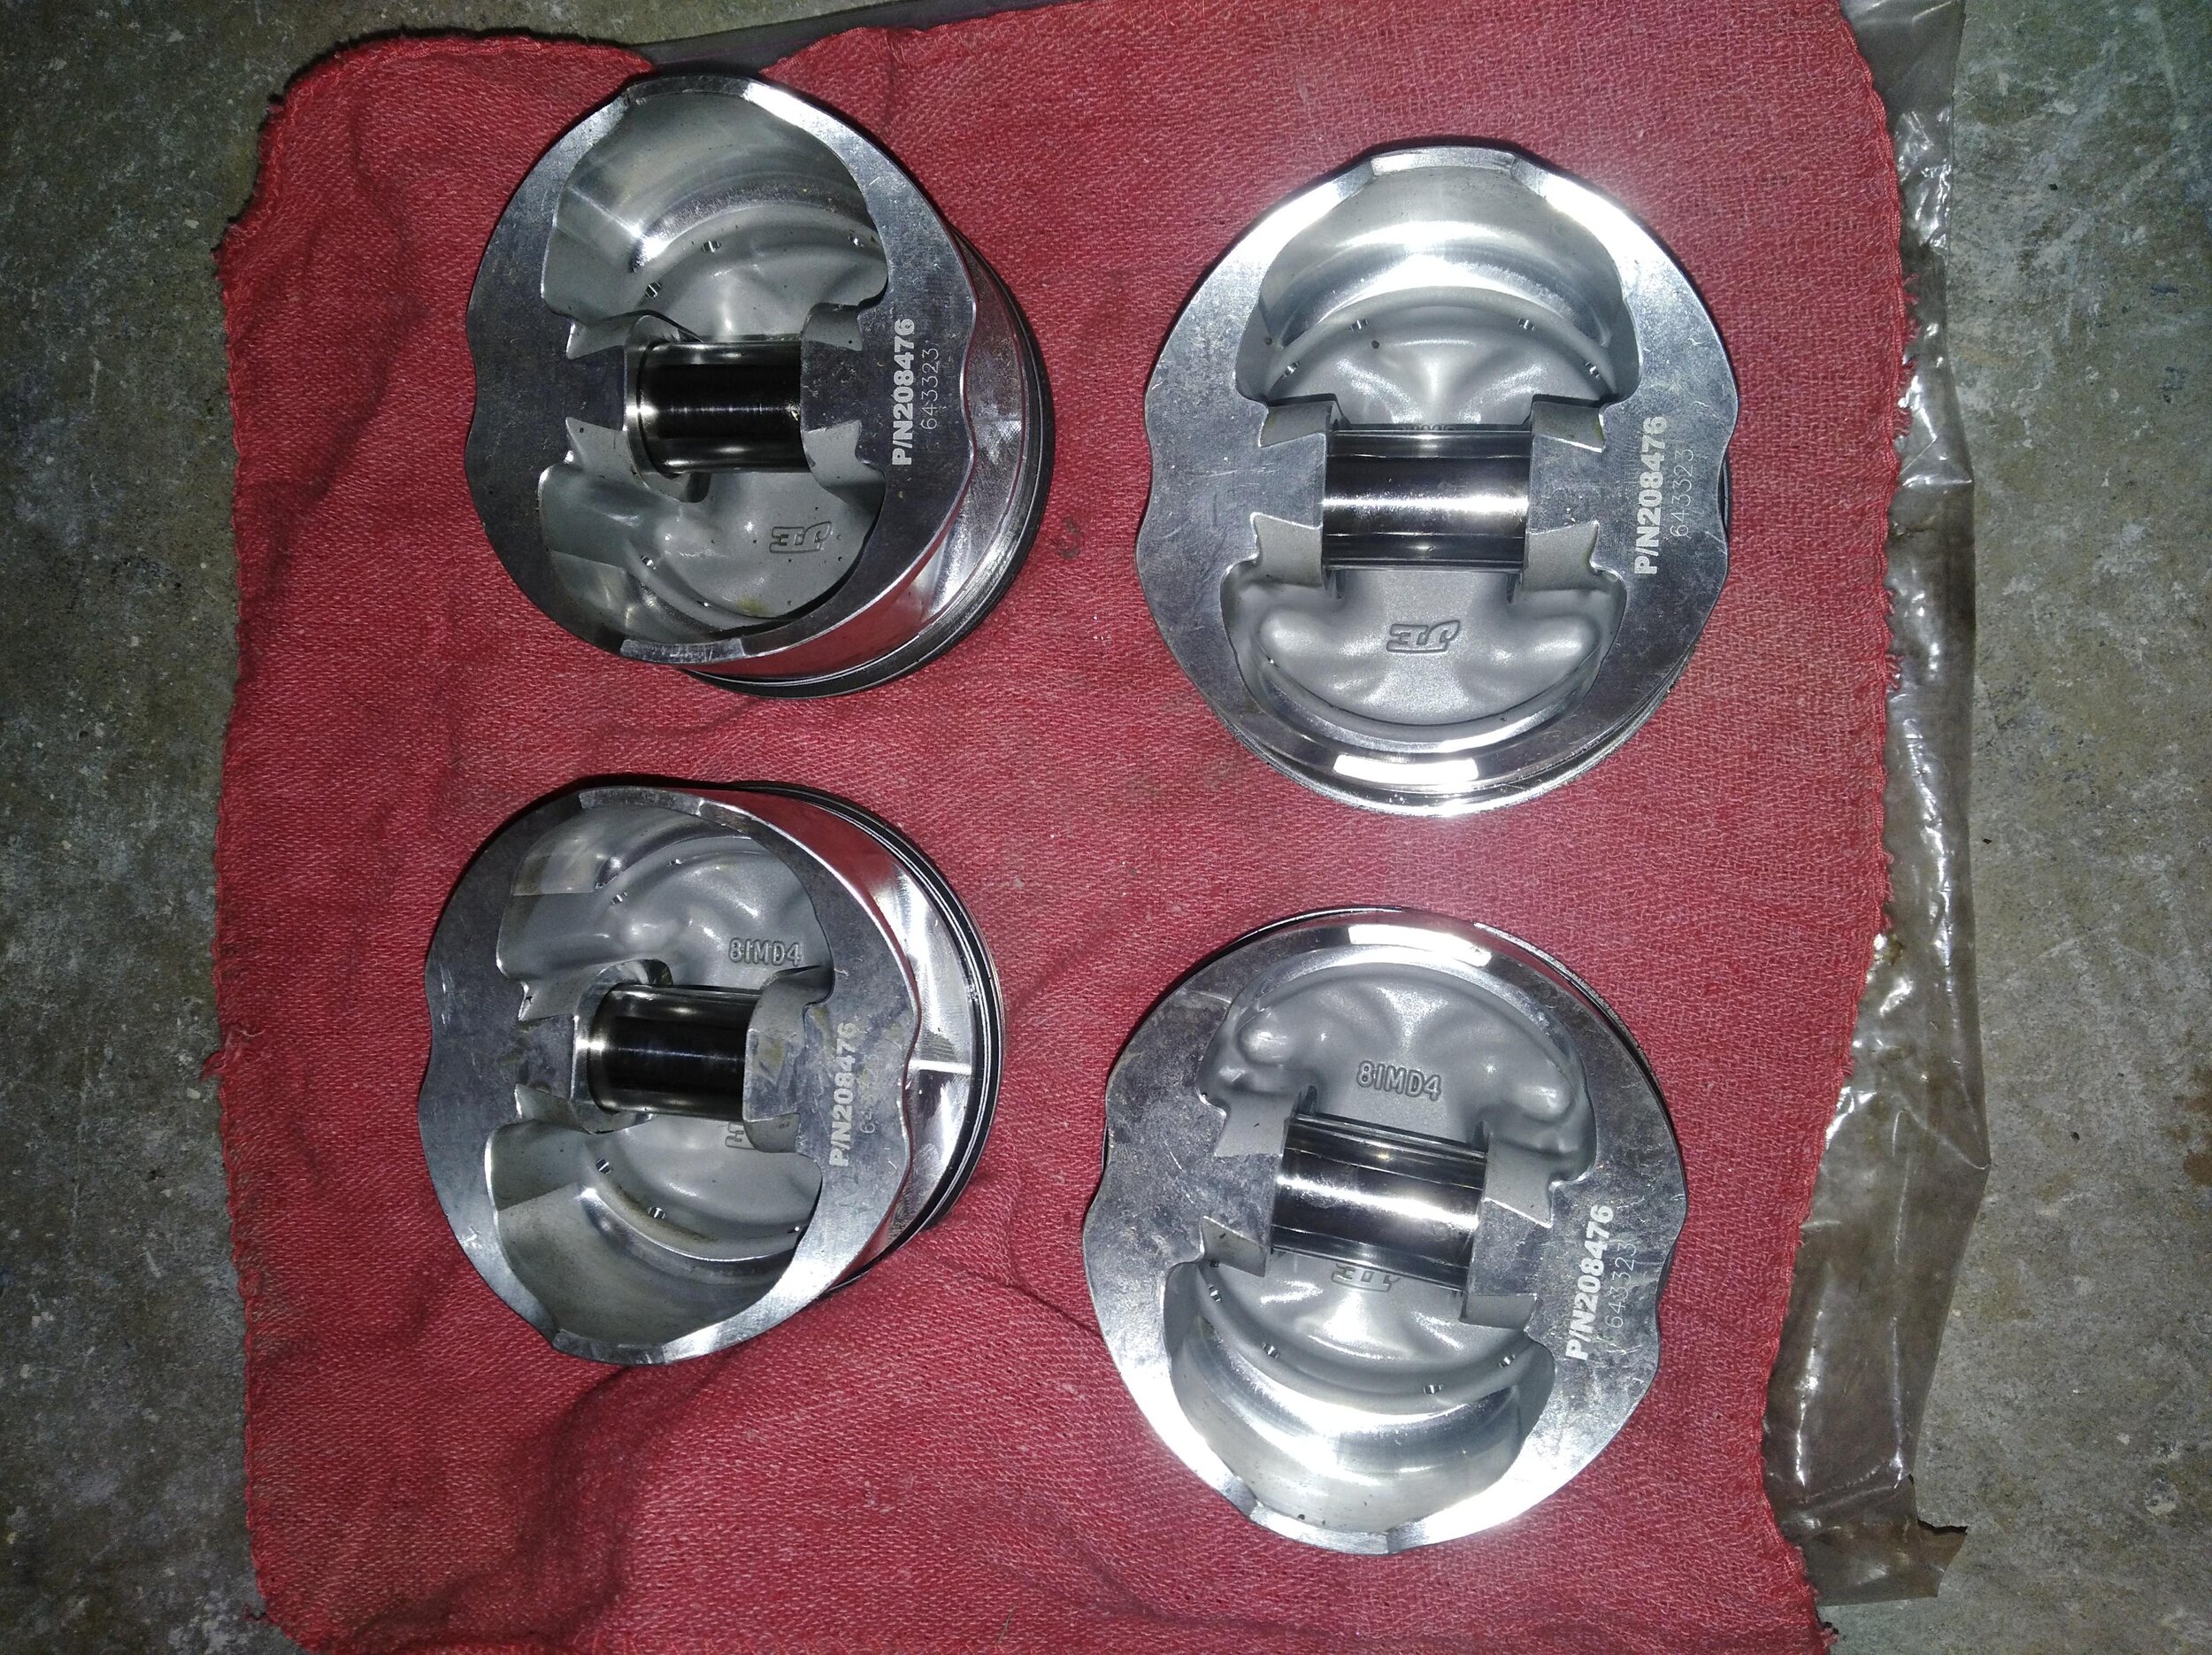
I was stoked I could get all of this for so cheap but I knew that I had a lot of learning to do for the next few months. I researched a lot before doing anything and I knew that I need to buy Connecting Rods. Ended up getting Forged Manley Rods H bean. JE Piston Rings. Oh man they had a large gap already so I had no option to keep it tighter even if I needed. Watch the videos on youtube to watch al the videos for this build..
Also got Commetic Gaskets set for top and bottom and finally ARP Studs all around. Main Studs and Head studs.

Manley H bean rods

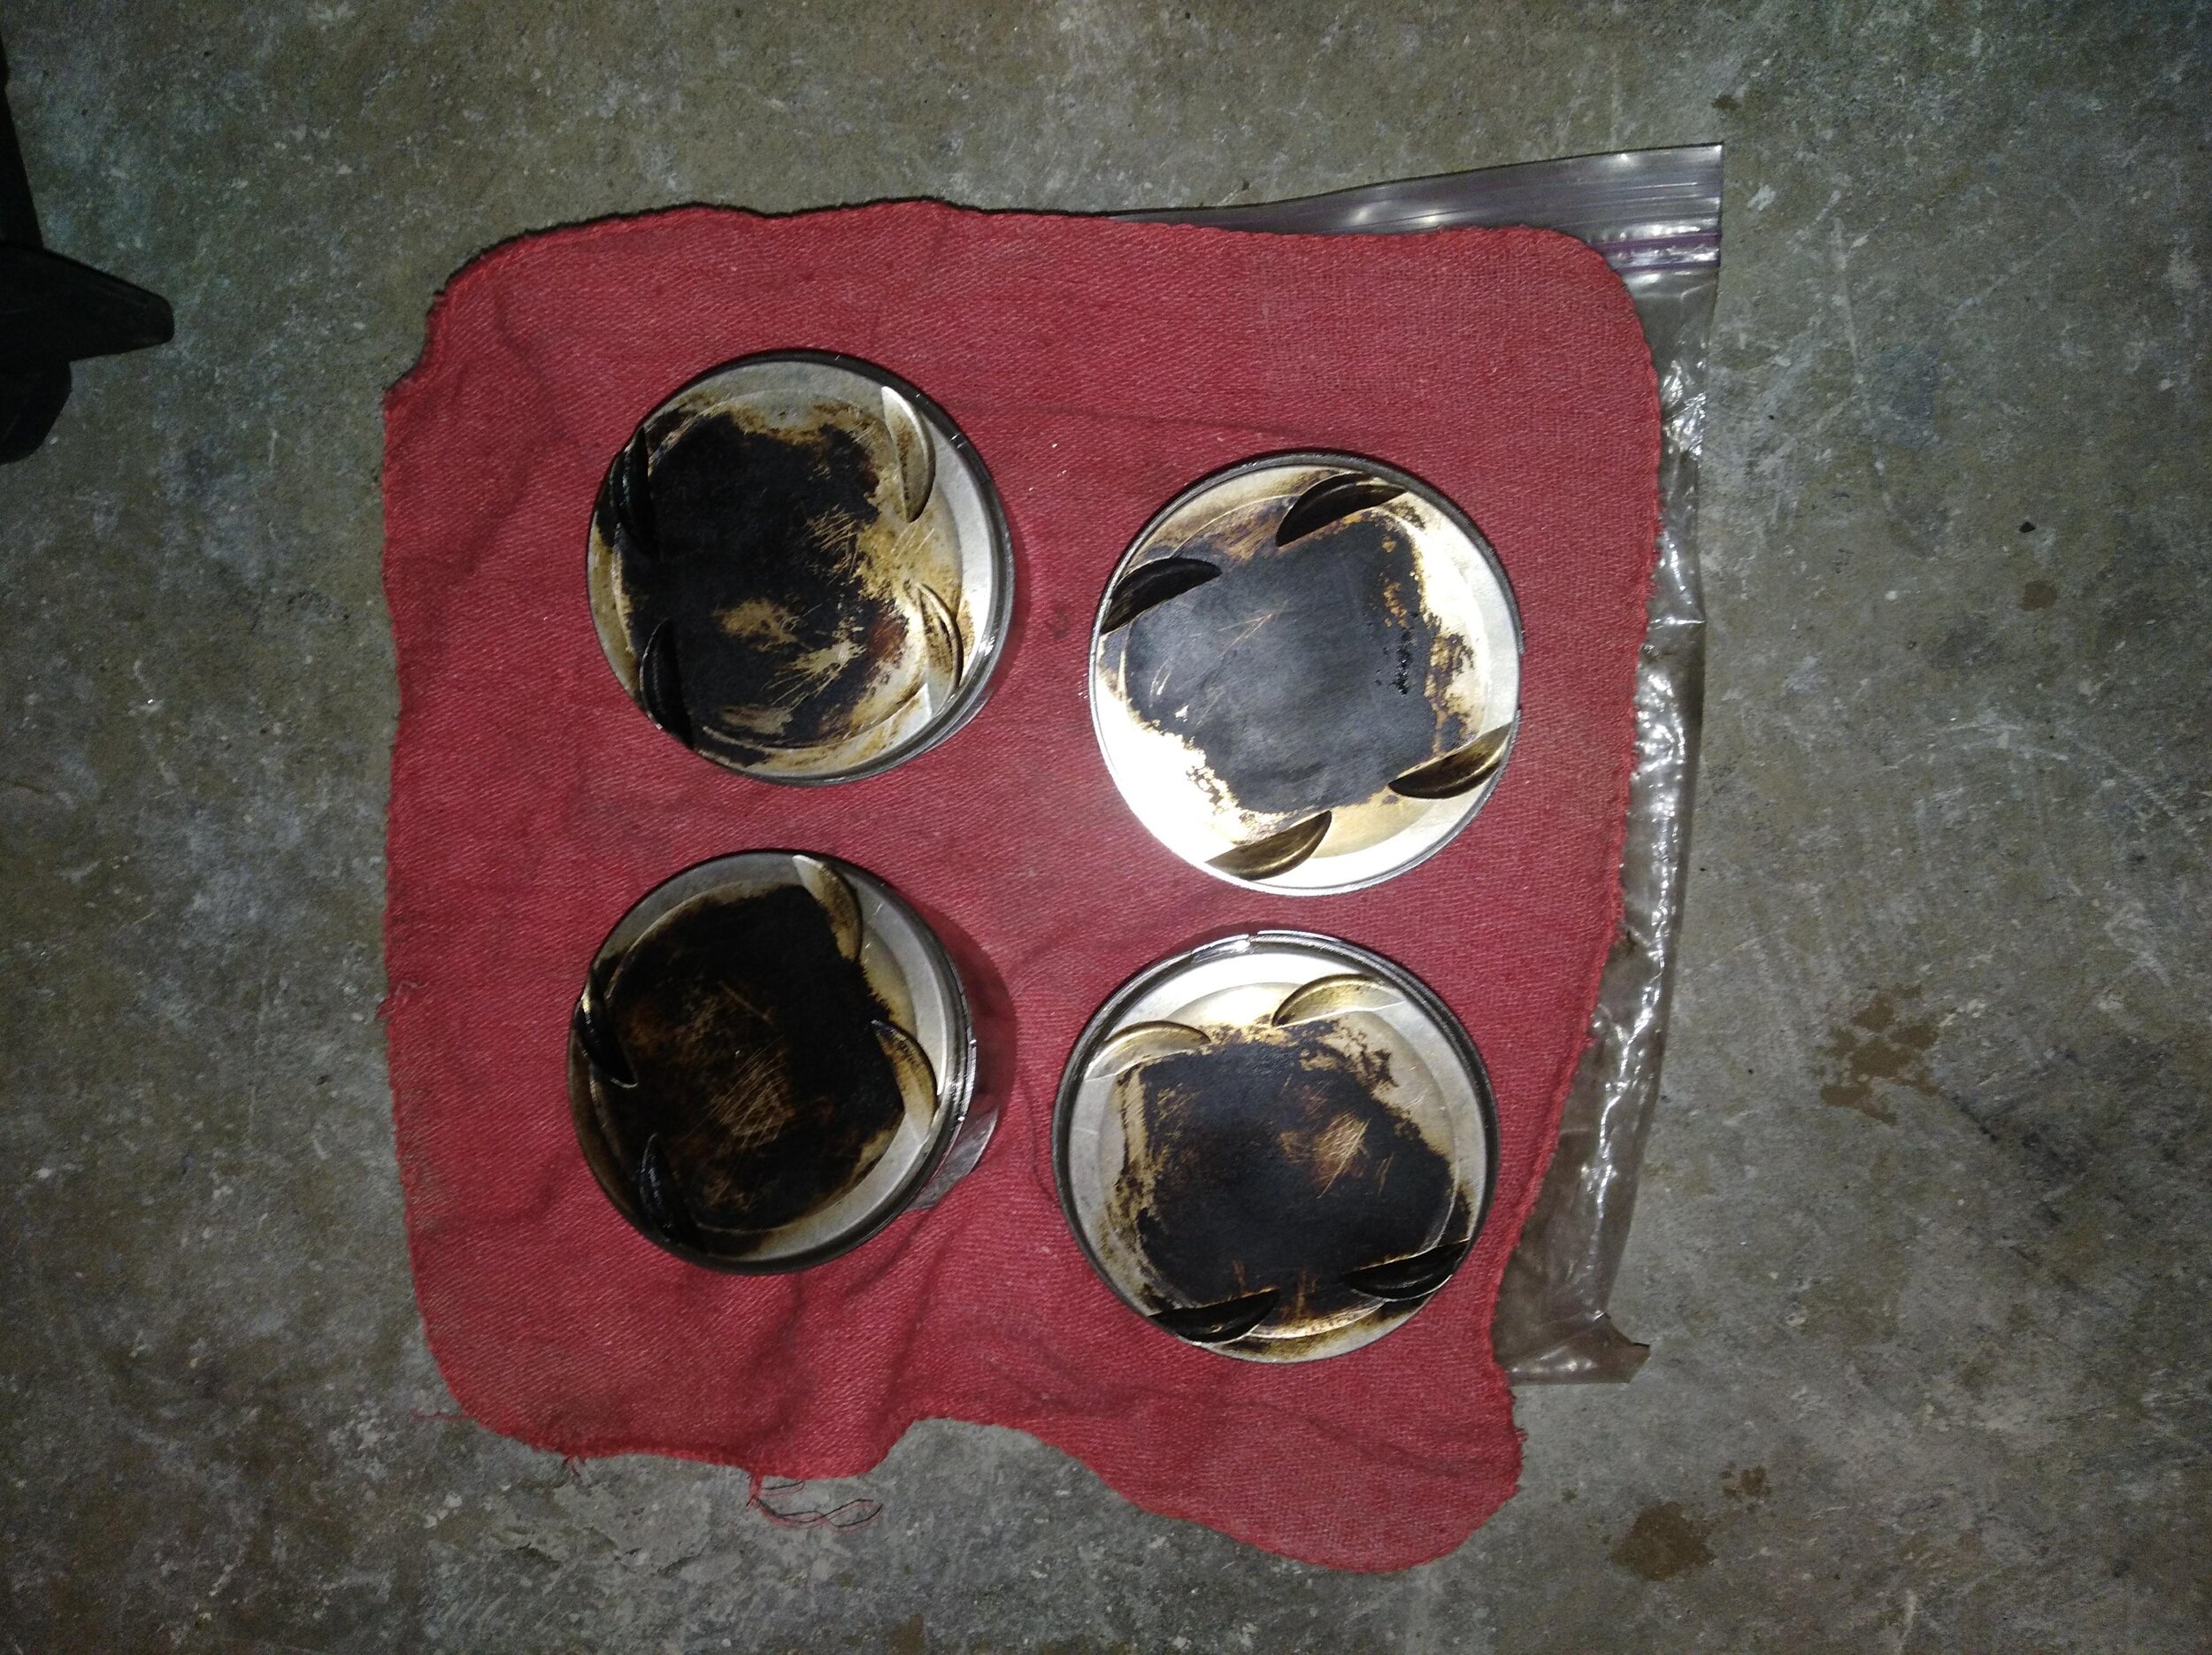
Rod bearings and piston rings
the rod bearings were standard and the rings were bore .05 over
I gotta say right here those bearings were easy to find but man … the Main bearing… Oh my Gosh it was a trip. I ordered 5 times and lucky I was able to return but 5 times and every time they would not have the right one and they would send me the 4g63. It is super hard to find 420a stuff. Even when they advertise it is a 420a be careful and do your research.
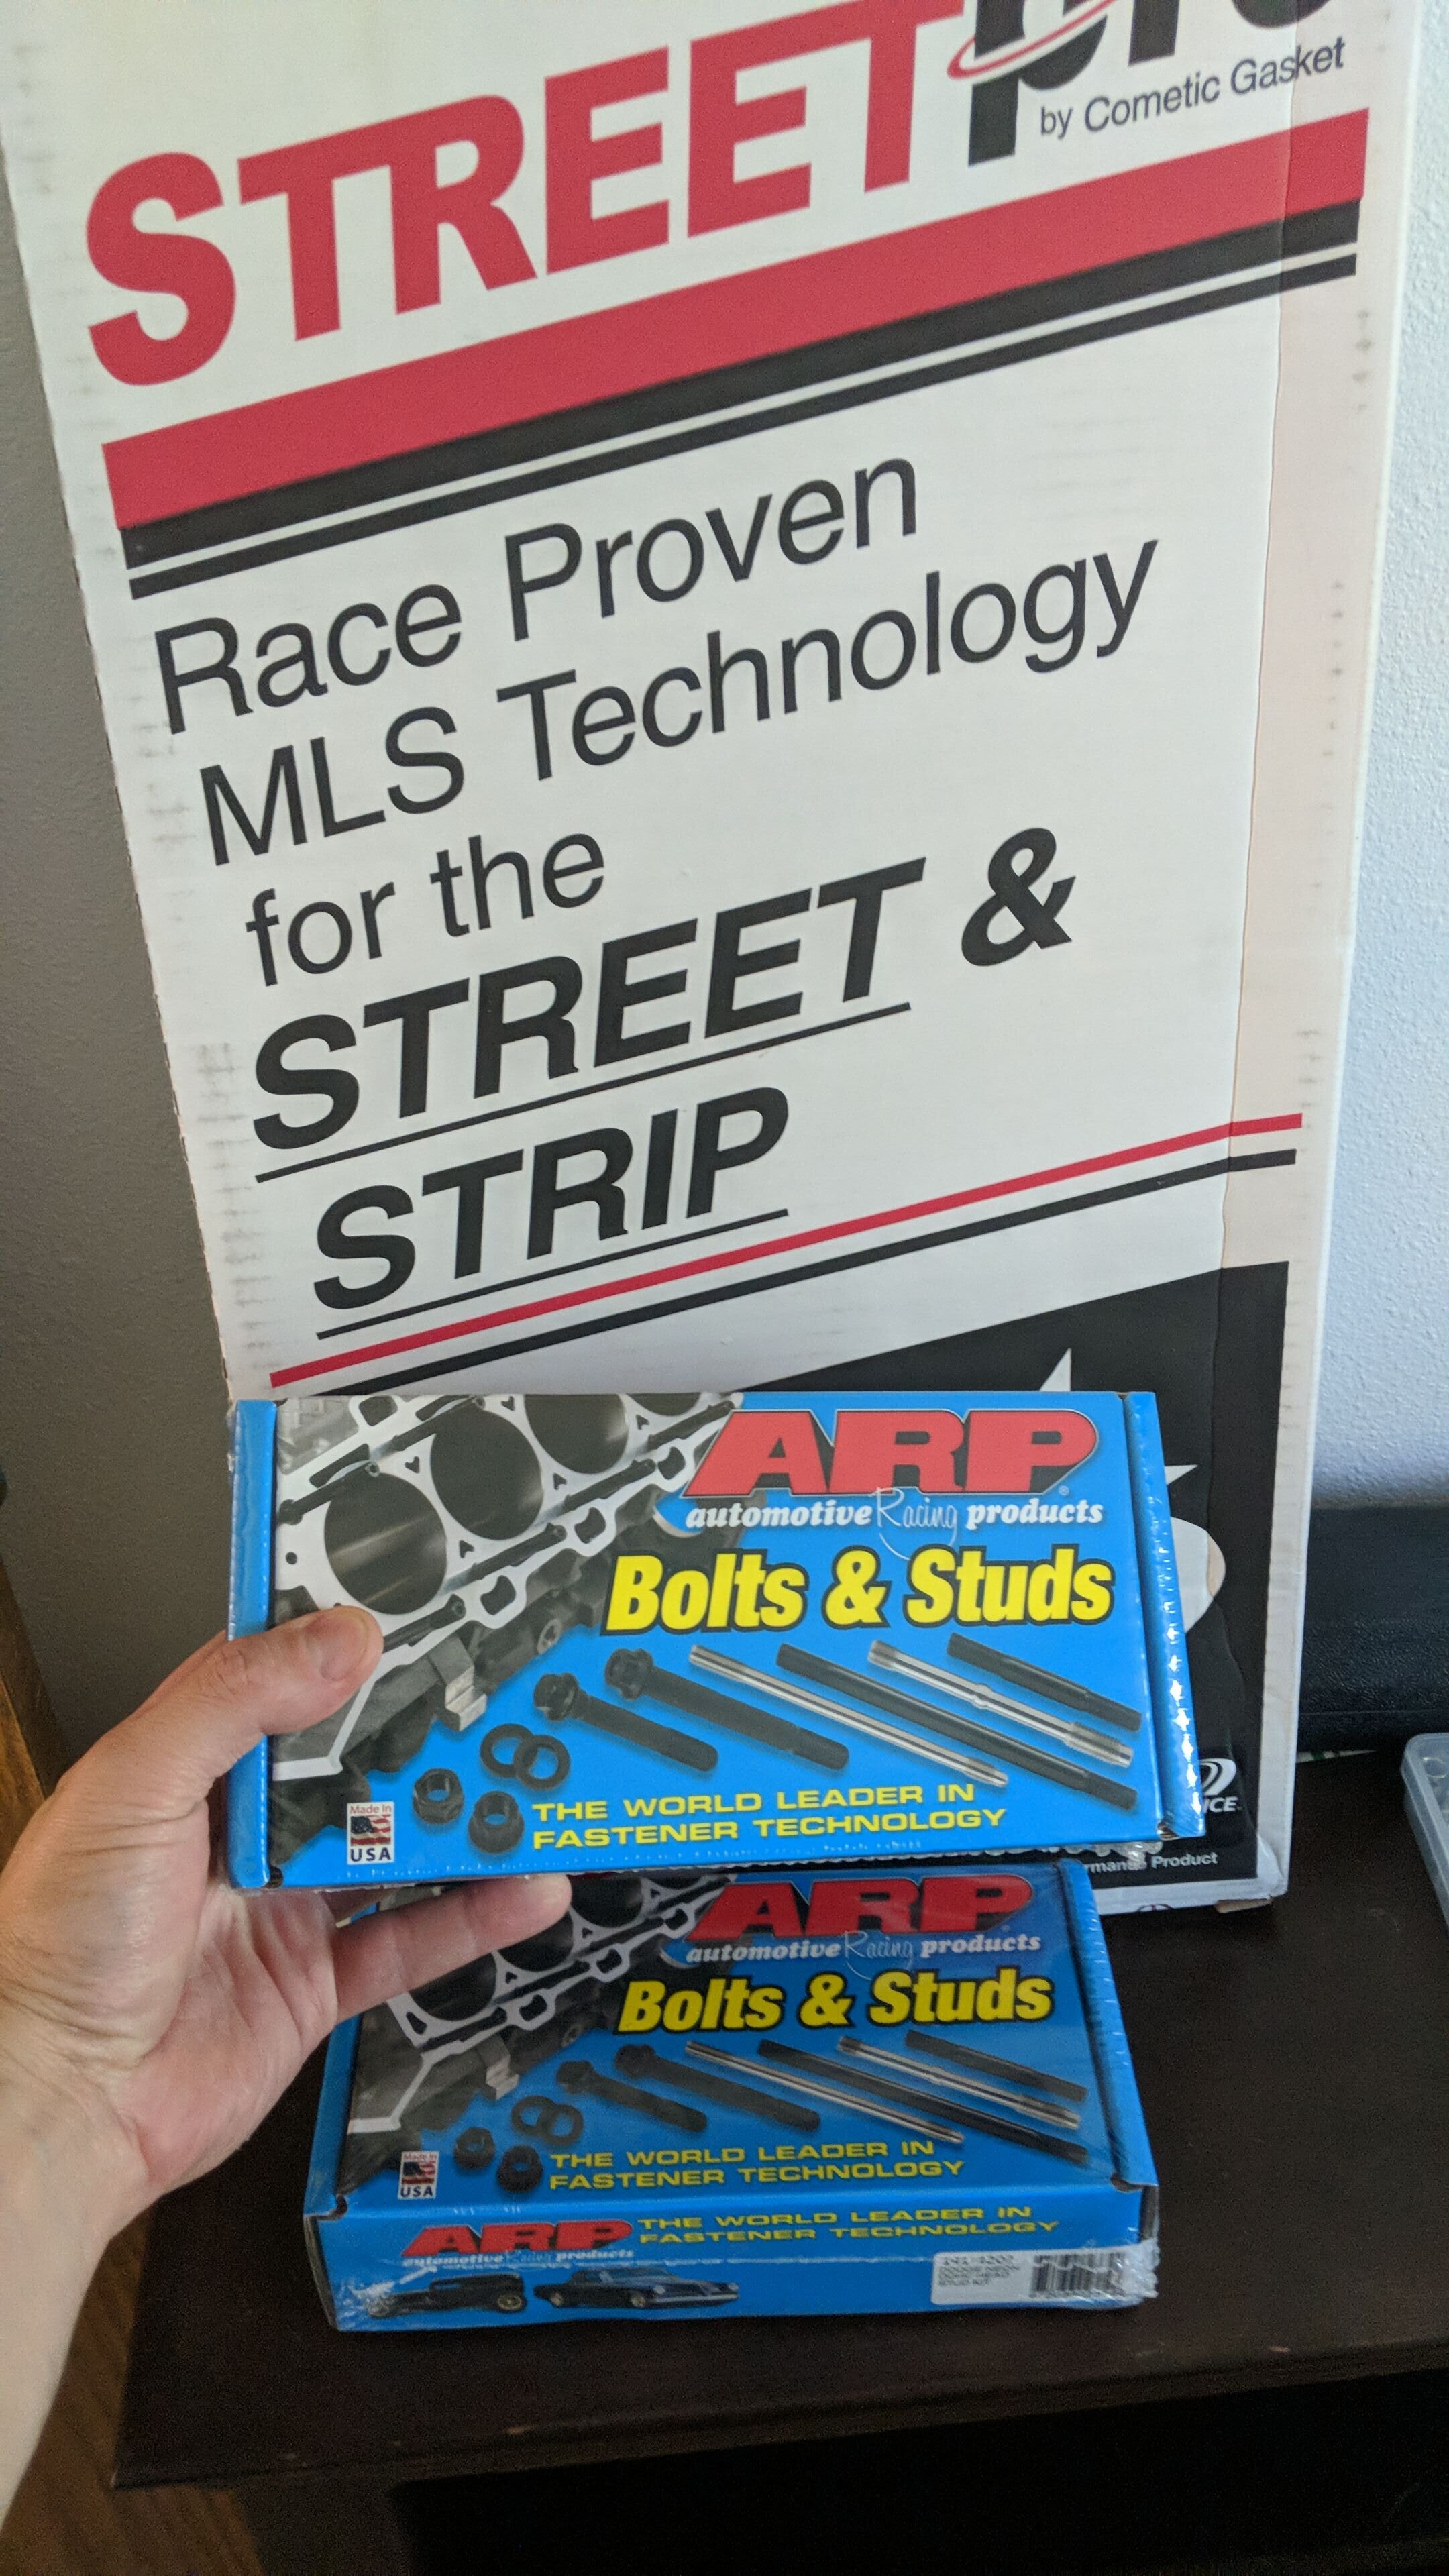
Gasket set and ARP bolts
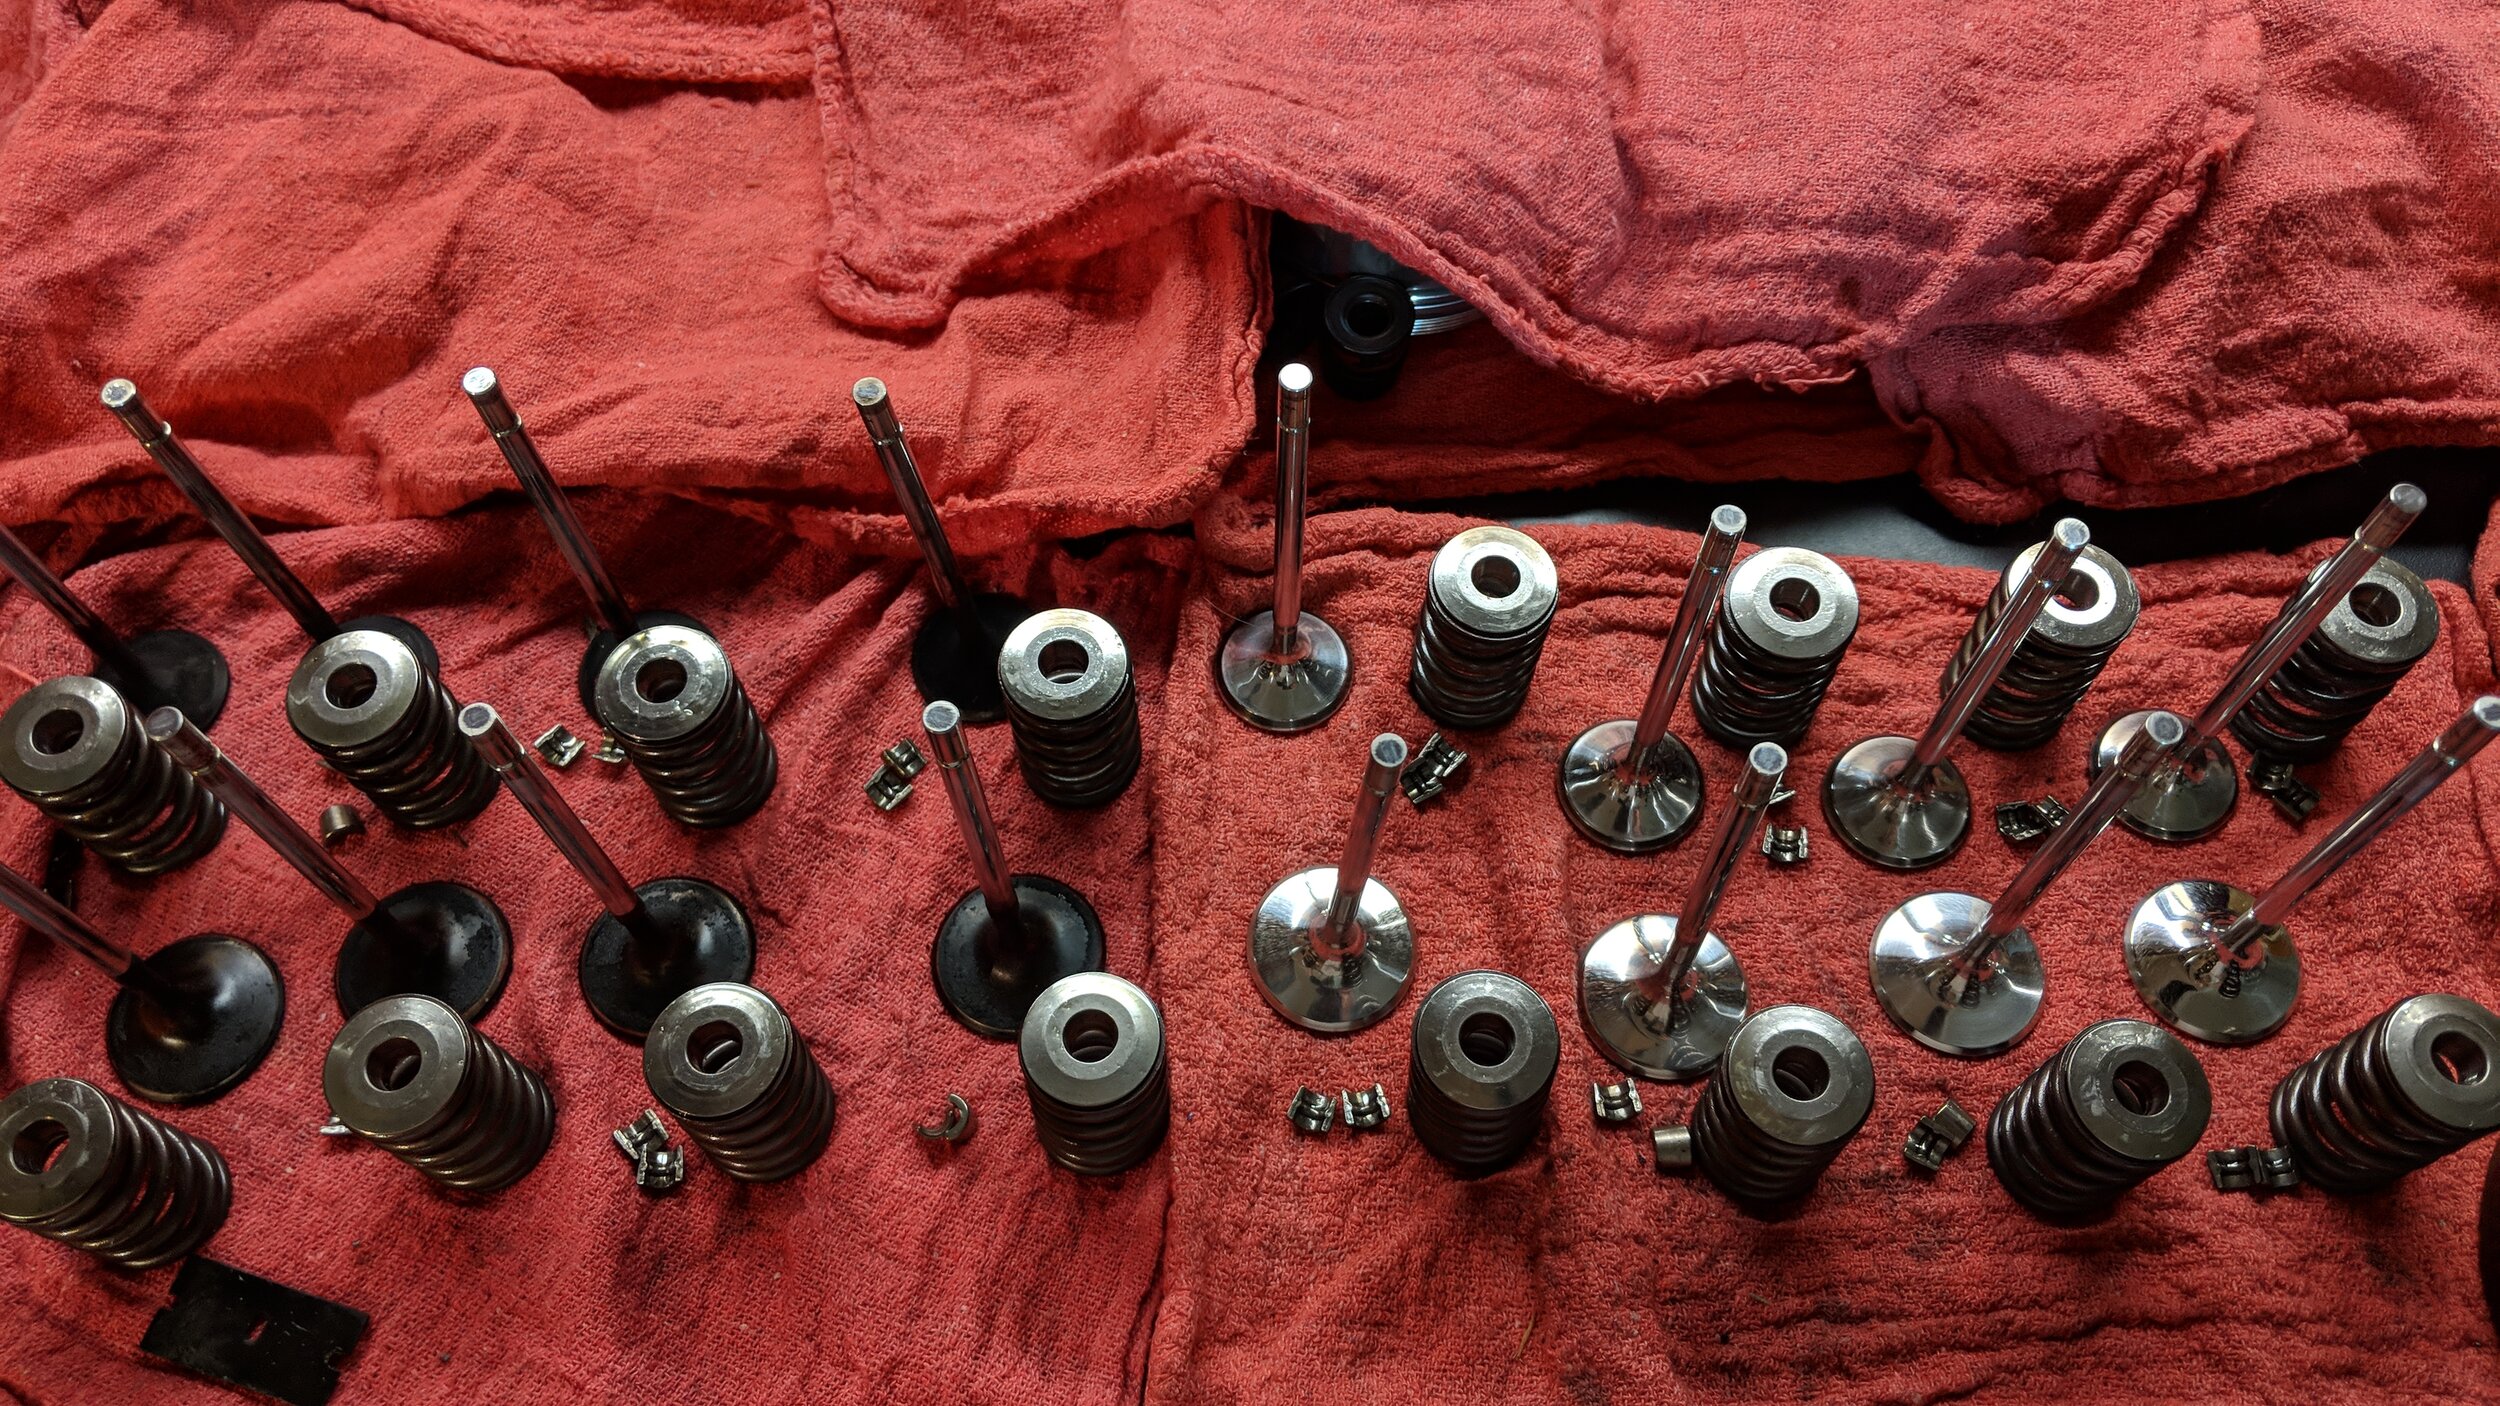
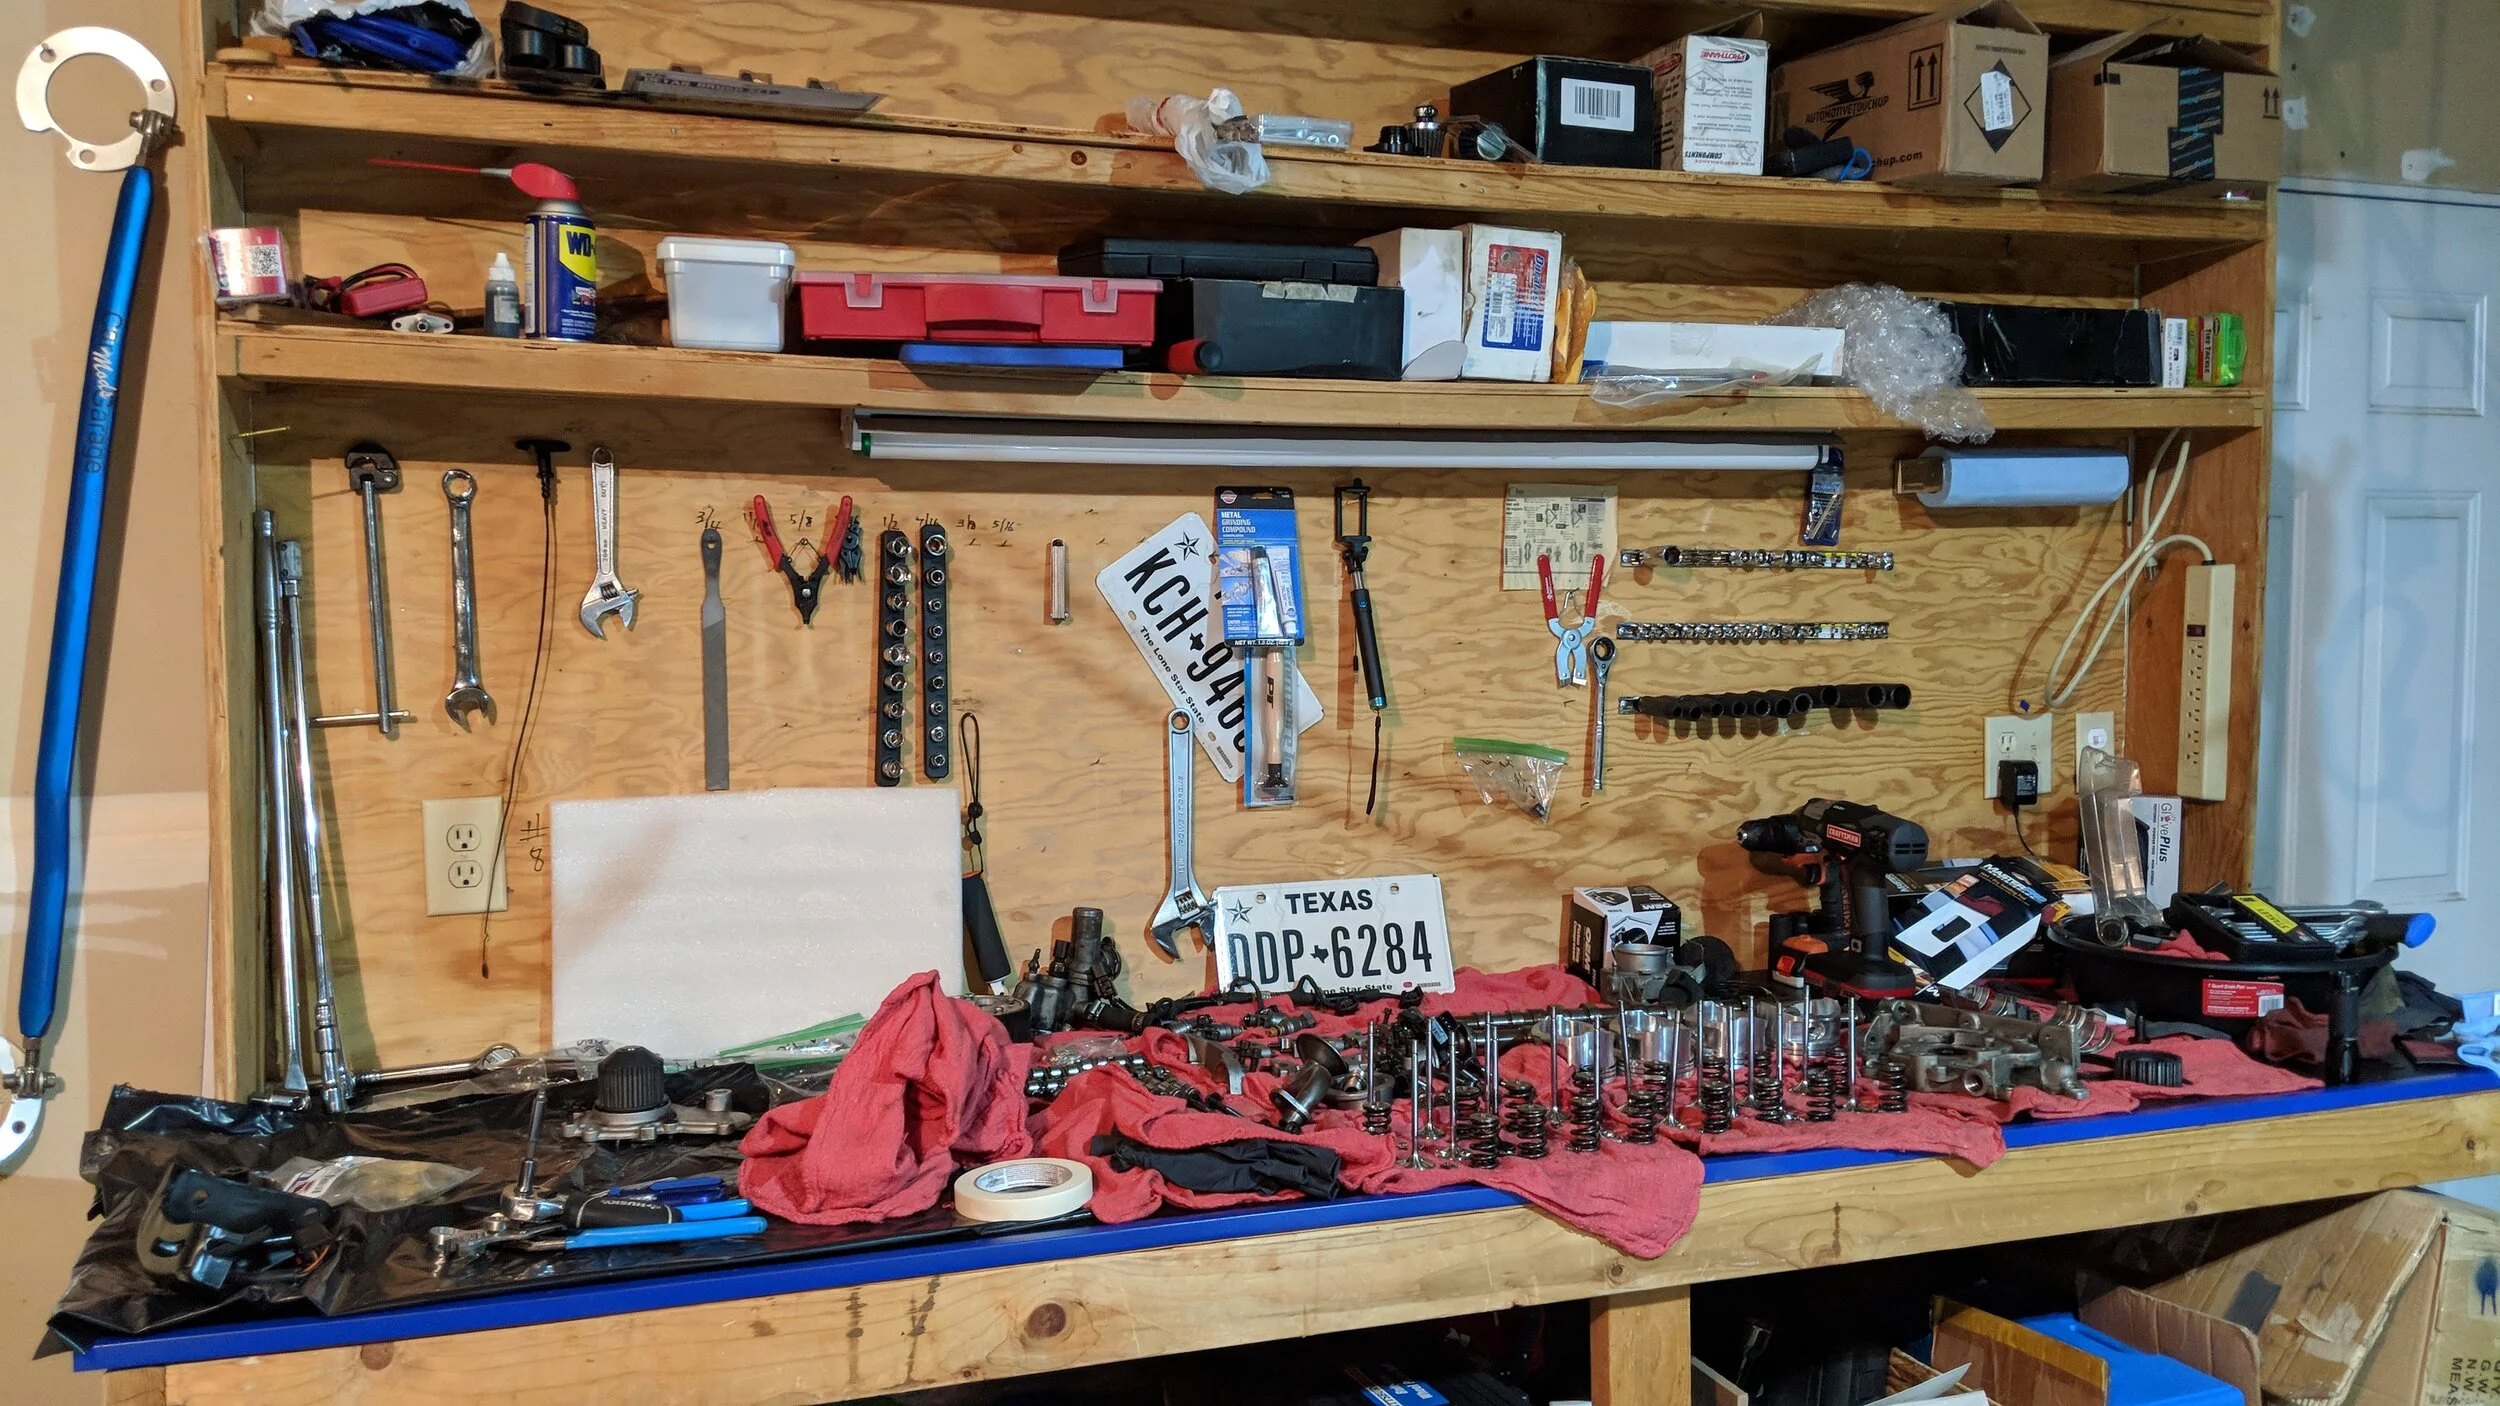
At this point I had everything I needed and I had all the knowledge I needed to do the job. I started then disassembling the head and cleaning everything. Don’t think it is easy. I ended up getting lots of tools and spending so much time to remove all the spring, retainers and valves.. Went to Car parts store and rented the tool to remove the valves. It did not work. This one from the picture below is the one I ended up buying because they did not have one for rent. It was the only thing that worked for me.
Then it was time to clean the valves . I used a combination of wet sanding with scuffing pad then a 1500 grit followed by a 2000 grit and finally a very fine 3000 grit. It was sort of a foam. Very very fine. I finished all of it with Mother Polish compound to remove the last layer of crap and make it shiny. It worked perfectly. Watch the video on my channel
By accident I learned that I needed to do a valve job. Which is called lapping the valves. It takes some material from the valves and the head using a grainy compound,. This makes the contact very very tight which makes you not loose compression. Makes the valve sit 100% on the head. So I did this painful job. I have no pictures of that but I have a video on my channel of course
After this I remove the Circlip from the pistons so I could install the rods. pain in the but.
I almost forgot. I also learned on the way that the block needed to be honed. We all think the the cylinders gotta be shinny and smooth but this is not correct. The block needs to go through a process that is called honing. This process makes 45 degrees scars on the block which helps the oil to stay there . When you first start your car those scars will hold some oil which will reduce the friction between the rings and the cylinder. This is a very cool process and easy to do.
This process needs to be done before gaping the rings since it could interfere on the gap after honing.
One of the things I learned that is very important was to never ever install piston rings without gaping them. If you have not enough of a gap and your engine gets hot the rings might tough ends and boom. Big disaster.
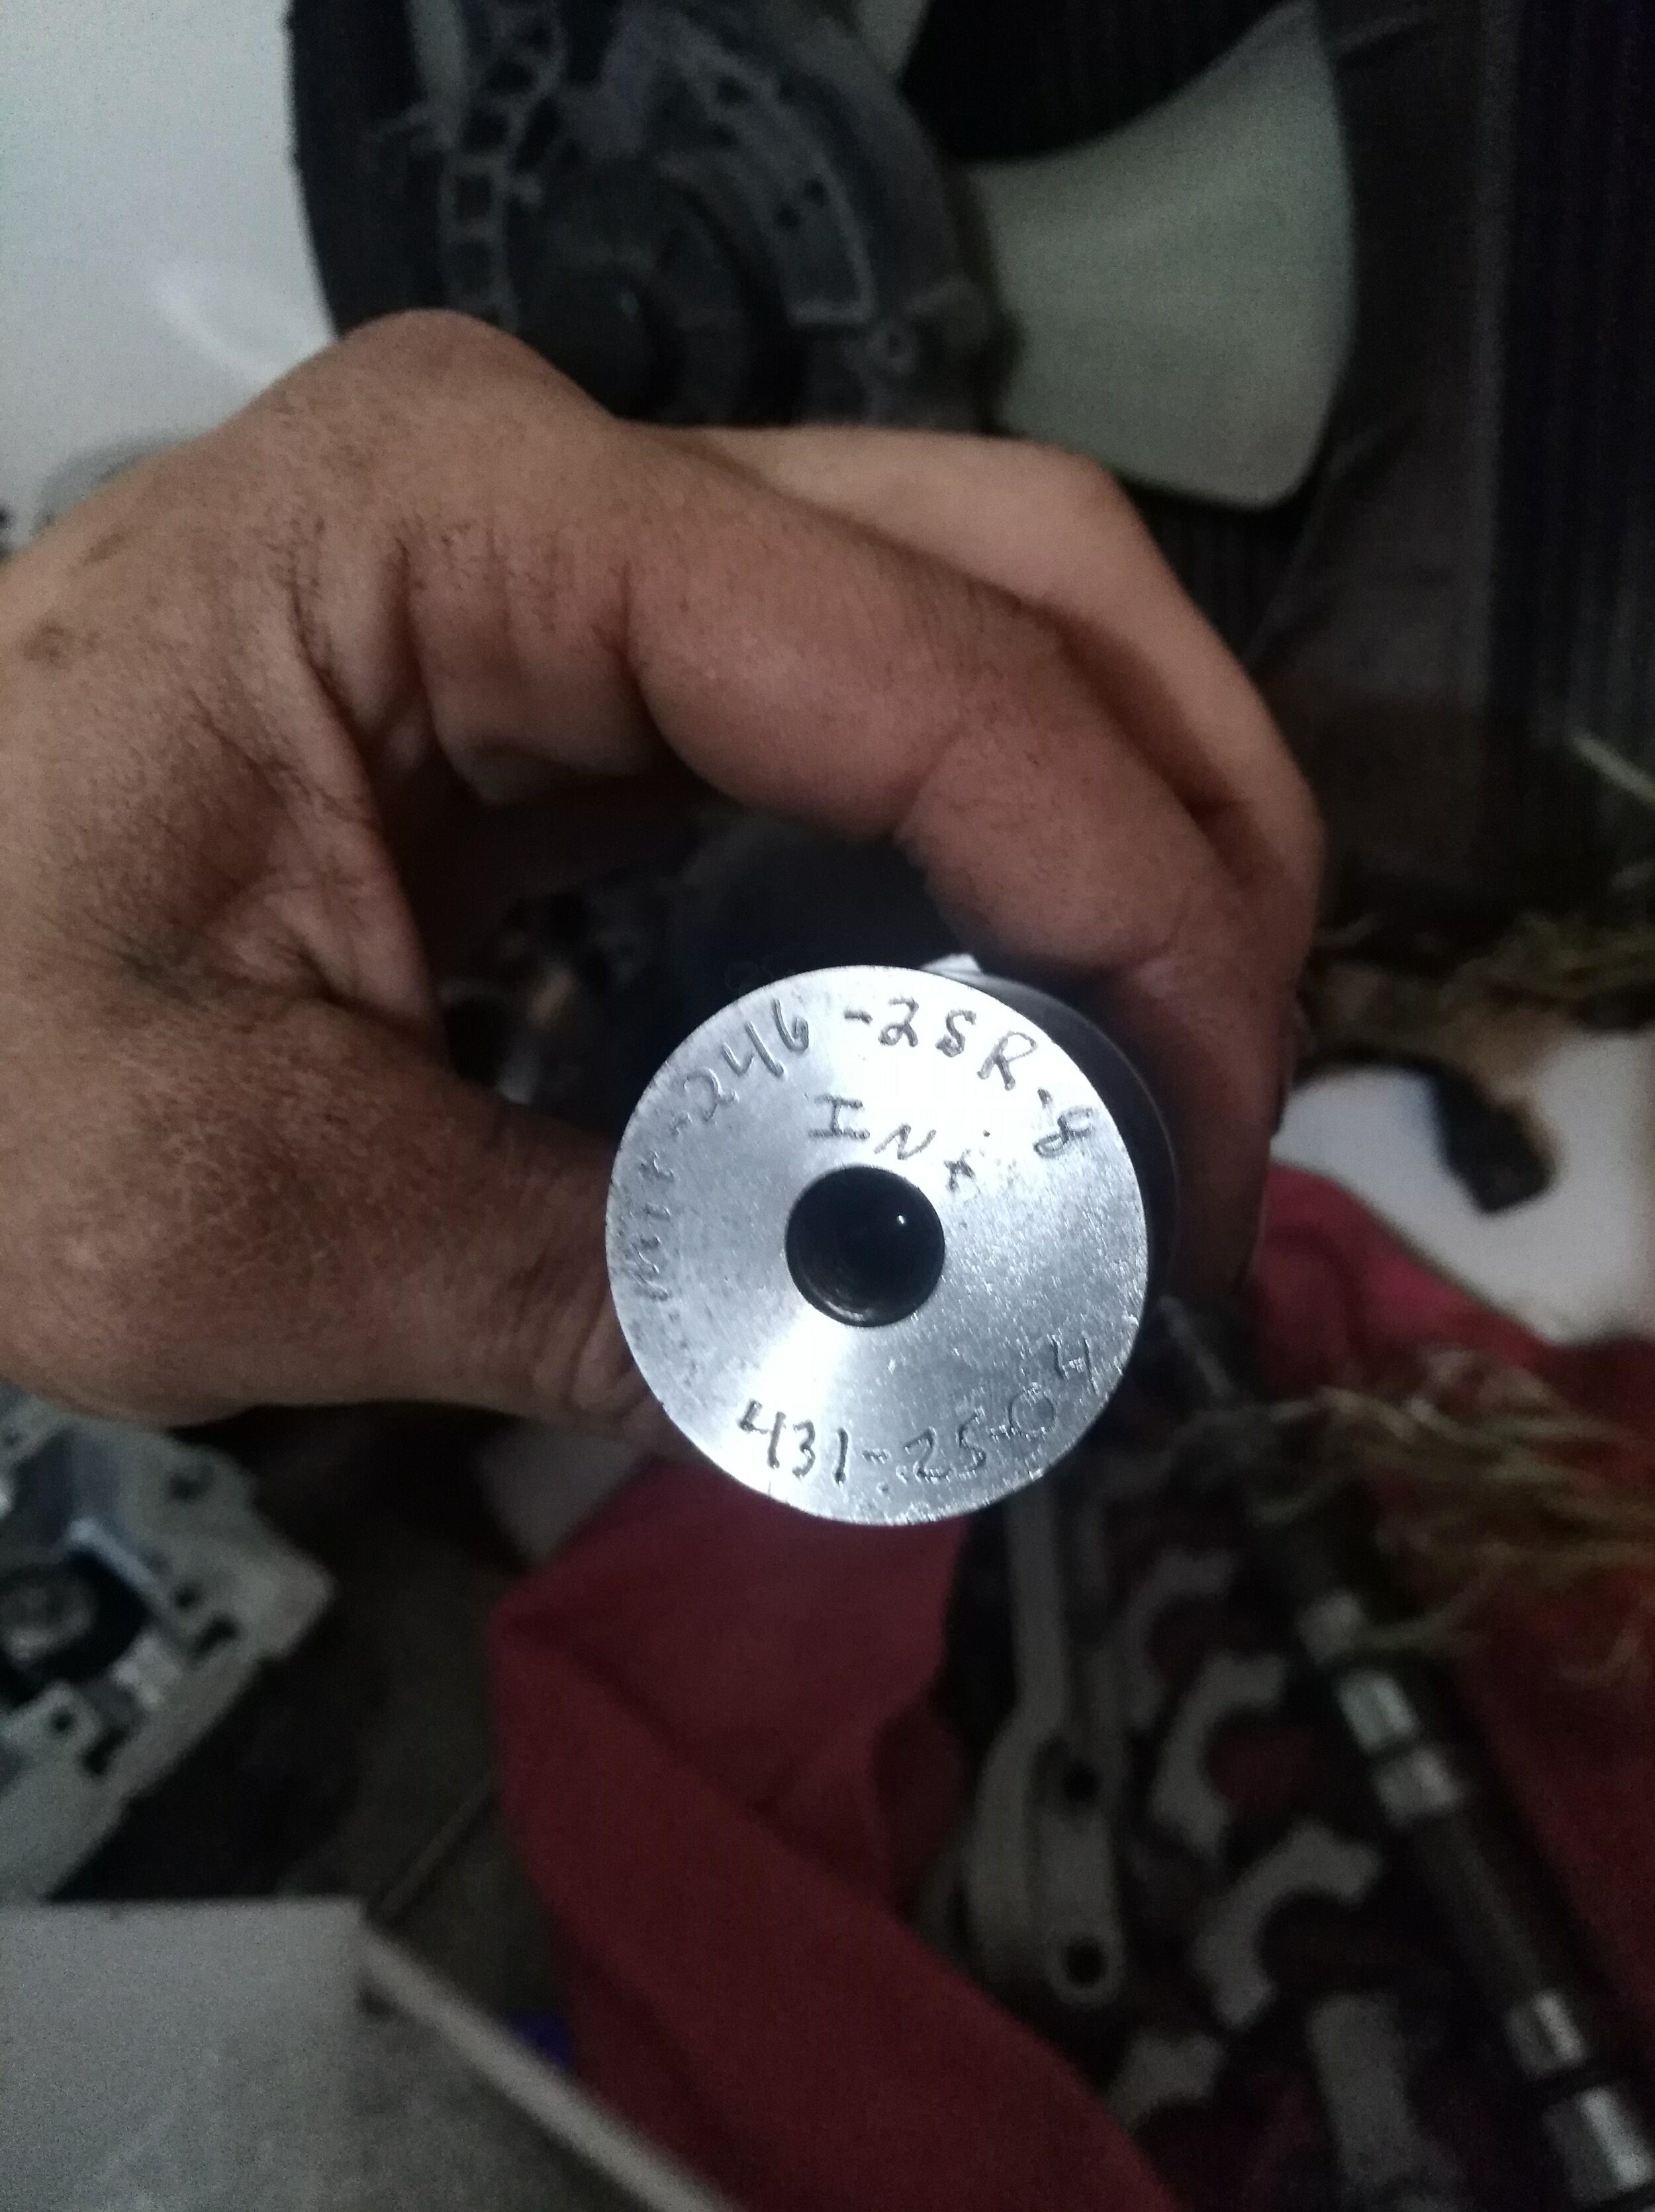
I ended up getting rings from the same company as my pistons and as I was planning to have a mild gap when I did the math and measured I realized that the gaps on the rings were already way larger than what I was planning to go for. I called JE and they said it was fine lol. So there I was gambling again. I ended up getting the gasp for a nitro car . Usually you get the bore of the engine on this case 3.457 and multiply by the bore x number that will be indicating on the little manual coming with the rings.
So for
Circle Track: .0055
Blown Race Only: .0065
Nitro Race Only: .0070
My 1st rings came gaped already as .021 and some as .022 so my choice would be gaping the 1st ring as .023 which is right between the Race Only ones lol.
The engine head was so dirty and stained that even the shop washing it didn’t remove the stain so I decided to send it to get sand blasted. I believe it was soda blasted or something very thing. It came out perfect but little I thought about my polished intake and exhaust job were gone since the blast took it off. So I decided to do it myself.
I read that we should bleed the lifters but my engine shop guy told me that we should not. I didn’t know at the time and ended up doing it the hard way. Squeezing it on a vice. This was painful but I did. Car started with zero lifters noise not sure if it was because I have hydraulic lifters or because I bed them.
And finally now there was I assembling the pistons and connecting rods. Dang boy I was excited. Just writing this part of this blog I can feel again what I was feeling at the time I was doing it. The hardest part in my opinion is not knowing if what you are doing is right. If what you are doing the way you are doing is going to blow the engine.
This is the video of me assembling the pistons into the rods.
Now it was time to install the crankshaft. For that we would for the first time use the ARP studs I got. I was supper excited. I set everything the way it should. Started making the video and tried to move the crankshaft and … stuck. I removed everything ans started again. You always split the torque into three. On the case of the 420a the torque is 80ft/lb for the main studs. Split that in three and did the first torque sequence. I could move the crankshaft by hand but it was a bit though.Half way on the second sequence and I could not turn anymore. I did that 7 times before giving up and calling my engine guy on the next day. He said because I was using studs it would tight way more and the main caps were changing shape. Isn’t it crazy to believe.
So the solution was common for him and in fact I am building a Supra 2JZ now and I am doing same thing already. Beforehand this time. The solution was to tight all the caps with the studs and measure. The solution is to line hone the mainline to factory so basically in common language a very small amount of metal like 0.001 needs to be taken from the bottom of the caps. Then a tool that take from the center and has the size it needs to be goes from one side of the engine to the other where the crankshaft would go. Unfortunately I don’t have the video for that and he gave me the block with the crankshaft assembled already.
I made a video about that because I had no idea.
Now shit was getting real. I was about to install the pistons and rods into the cylinders. A new tool was sed to get this done. No drama there. Just need to remember to use assembly lube into the cylinder and also inside the tool so the rings slide easily out of the tool into the cylinder.
I am not sure if I did a good job there since I ended up using the back of the mallet to push it sown. I guess I will learn with time. So far the car is working as expected and has been tuned fine so far.
Right while I was building my engine I got into a drifting even. Just to check it out. Oh man I loved it. I ended up finding an awesome BMW 330i which is a E46 and made that my drift car. I went to a few events and from there I started making changes to the car but well, this is topic for another post.
Installed the oil pump and water pump. No news there or anything that I think I should mention besides they were installed and there is an gasket on the oil pump that will prevent oil from the engine to come out. Well watch the videos
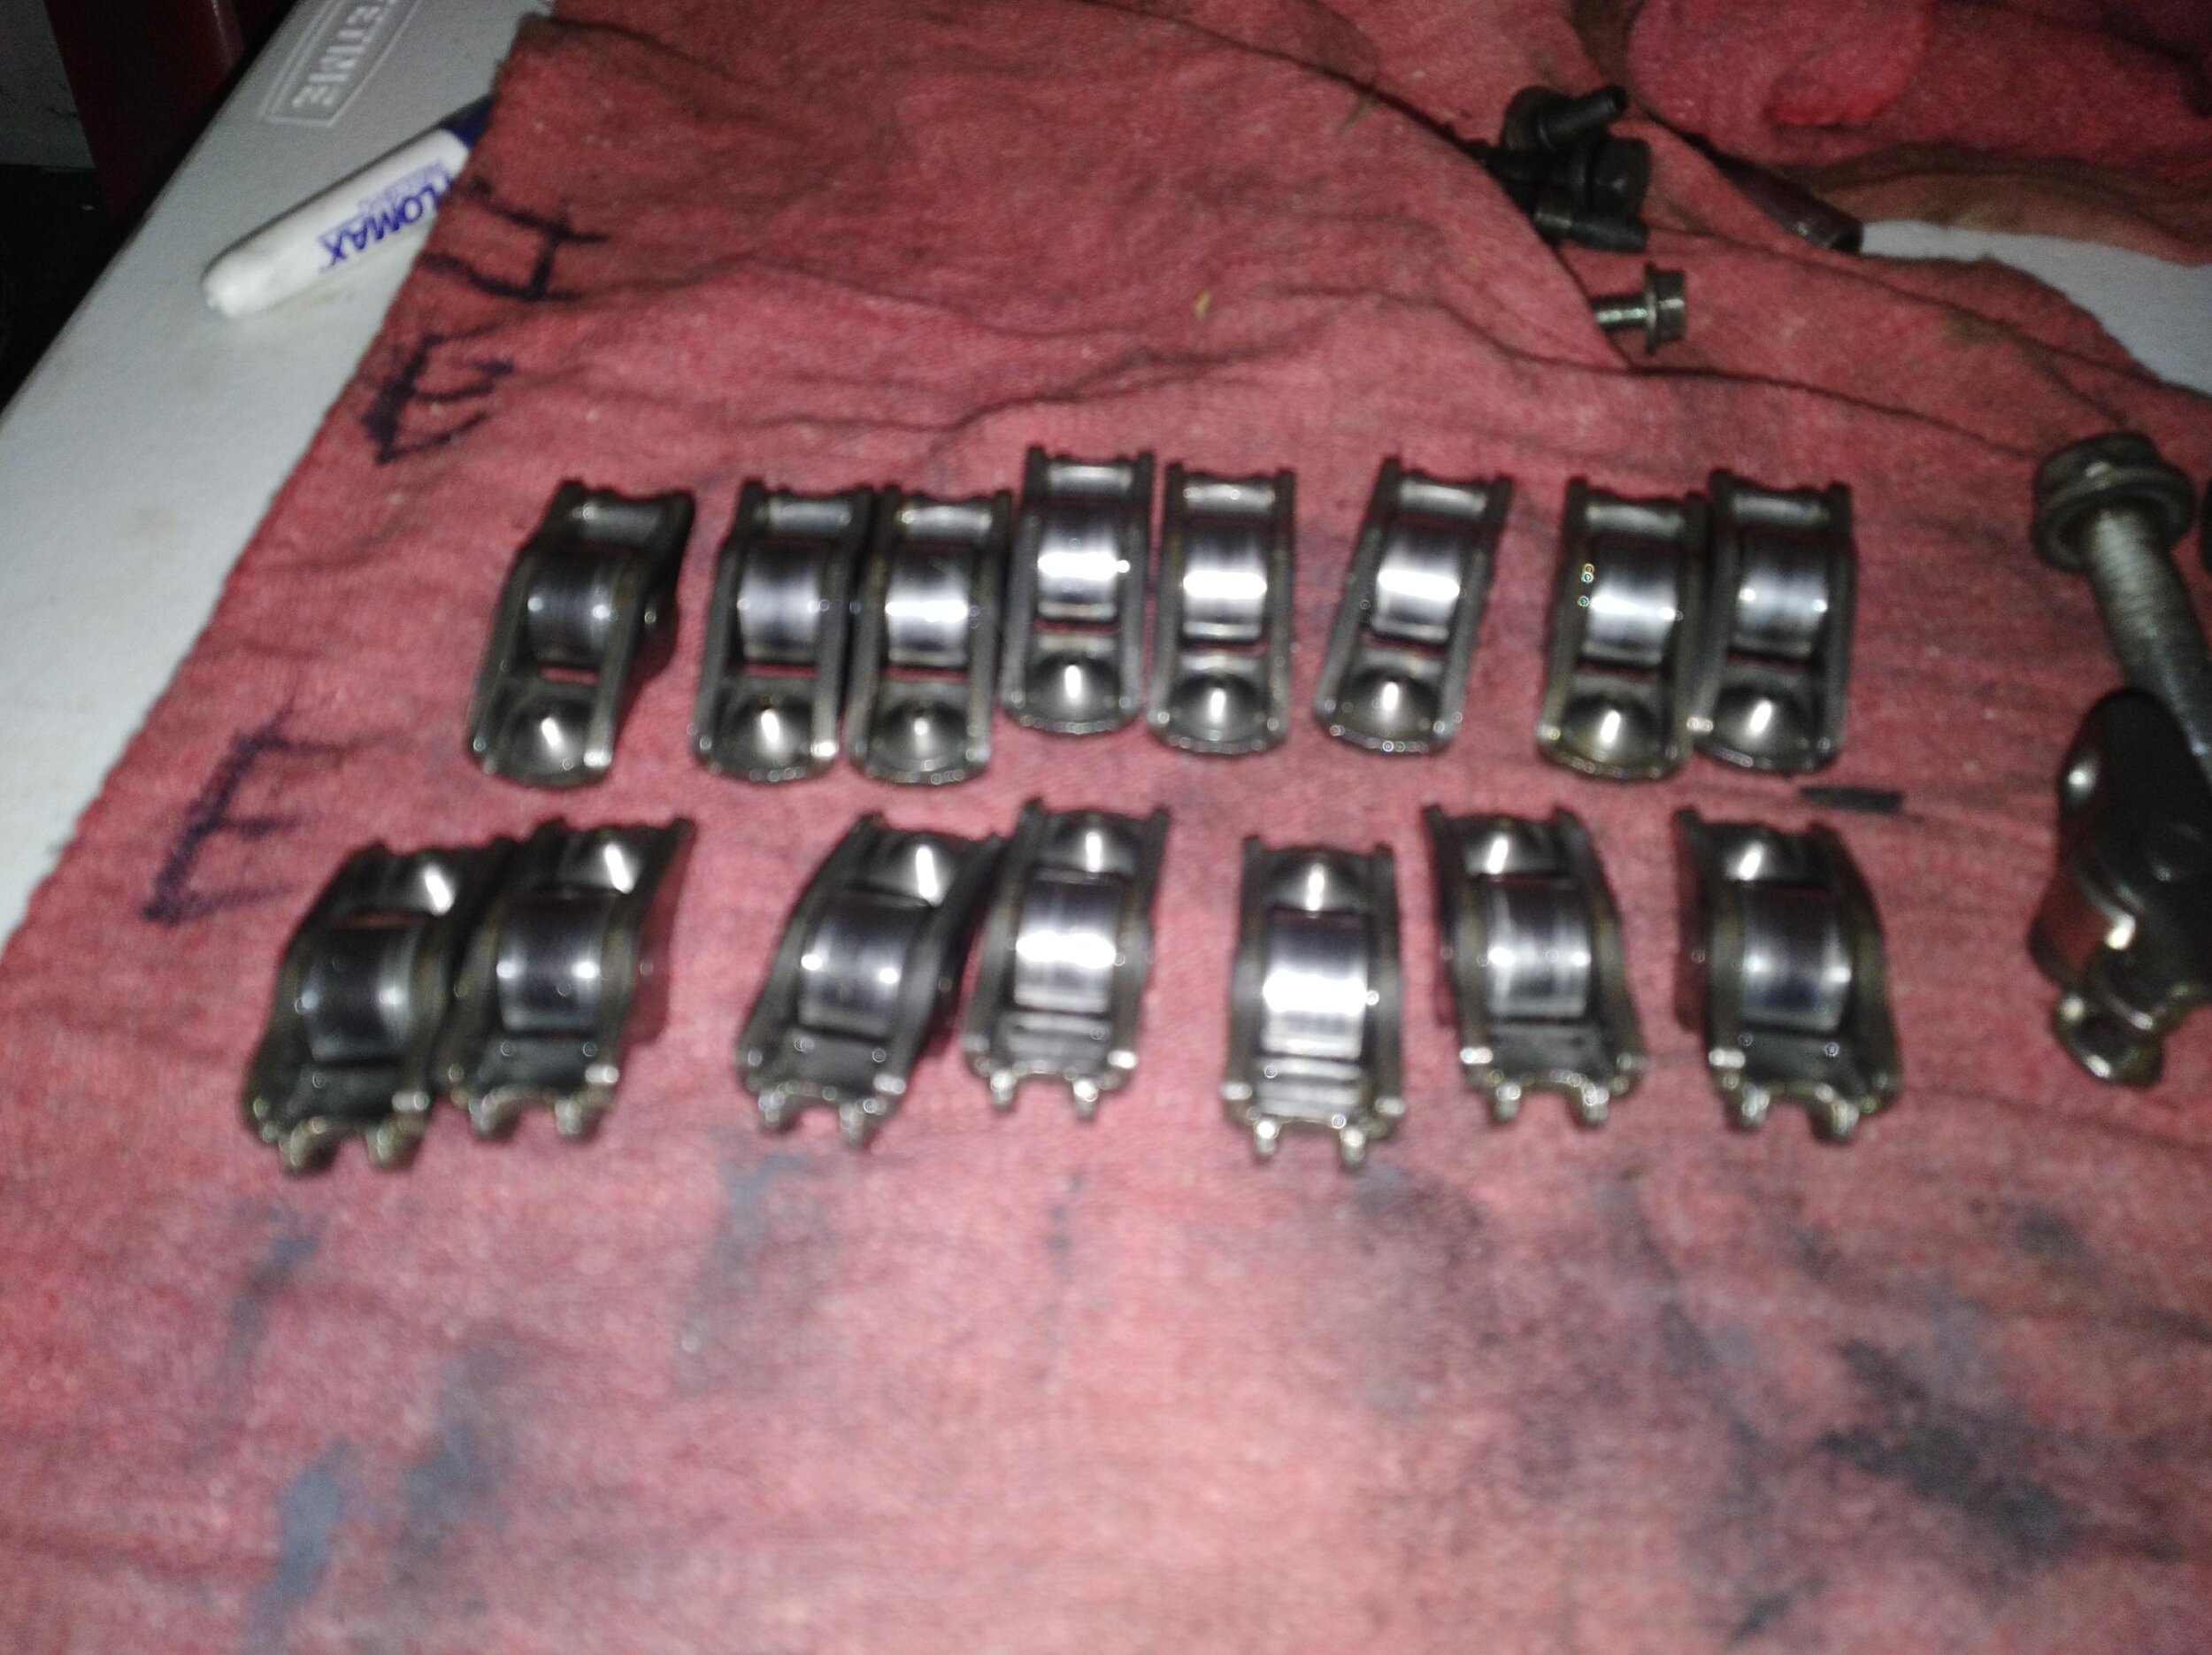
At this point we have everything from the bottom assembled except for the oil pan. From here we will jump to the head and assemble the valves, springs, retainers and of course the gaskets for each valve. All the valves were clean and free of any carbon deposit also the lapping job or valve job was already done at this point so we are safe to put them in place.
The MLS gasket was part of the top end kit and it is a Multi Layer Gasket system that helps to prevent blown head gasket for high performance engines. One thing to consider is the thickness of the gasket. If your block is not 100% straight for example then a thicker gasket will help to compensate for the issue but not fix your issue. Or if you need a bit more clearance for the pistons and valves so they have a bit more space between each other. Also need to think about the compression ratio. The thickest the gasket smaller will be the compression ration of your engine.
The camshaft gave a big of a news. Torquing on aluminum is very tricky since you can get it stripped easily. The real problem is if the previous assembly got over torqued it is highly likely that you will get that hole stripped regardless if you torque it properly. I got a hole stripped and ended up tapping that to a bigger size. I covered everything because I didn’t want to disassemble the engine. I also vacuumed the hole and the parts around it to remove every single shaving part of aluminum that could possibly remain in there. I was scared till the day I started the car.
The rest of it is coming soon here.
You can check it on my YouTube channel under the Playlist Eclipse 2g that has 119 videos so far
https://www.youtube.com/watch?v=wnhxSSdSmLQ&list=PLdqU6ucc0h6HmPrr8CW5xr_1sFysIjFlX